How to Add a Claim
How to add a claim directly to Adjustify
To add a Claim directly to the Backlog, follow these steps.
1.
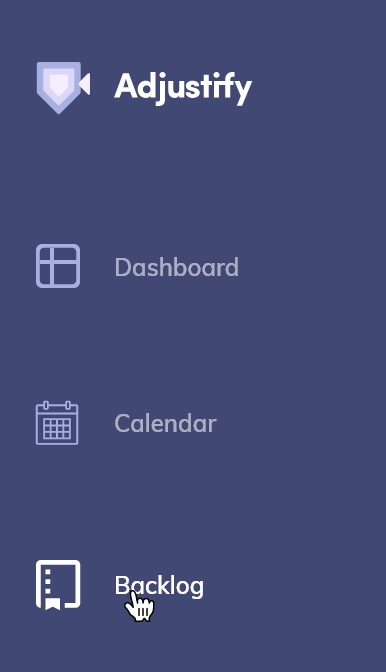
Hover your cursor on the left-hand side of the screen and a menu will pop up. Click Backlog.
2.
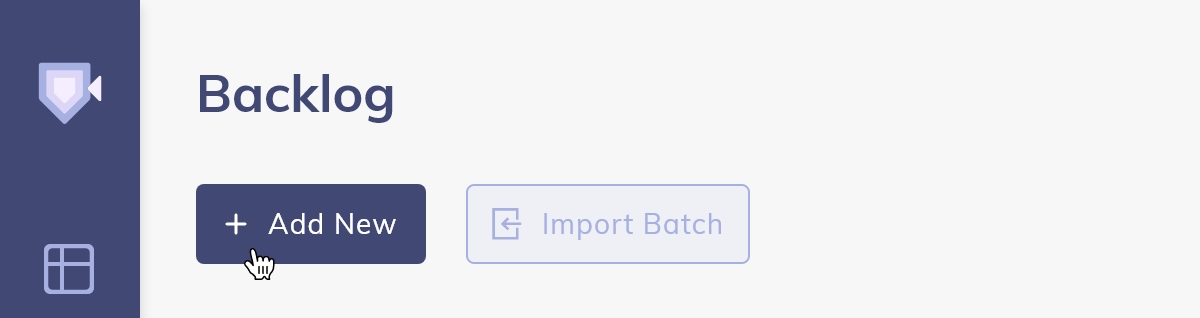
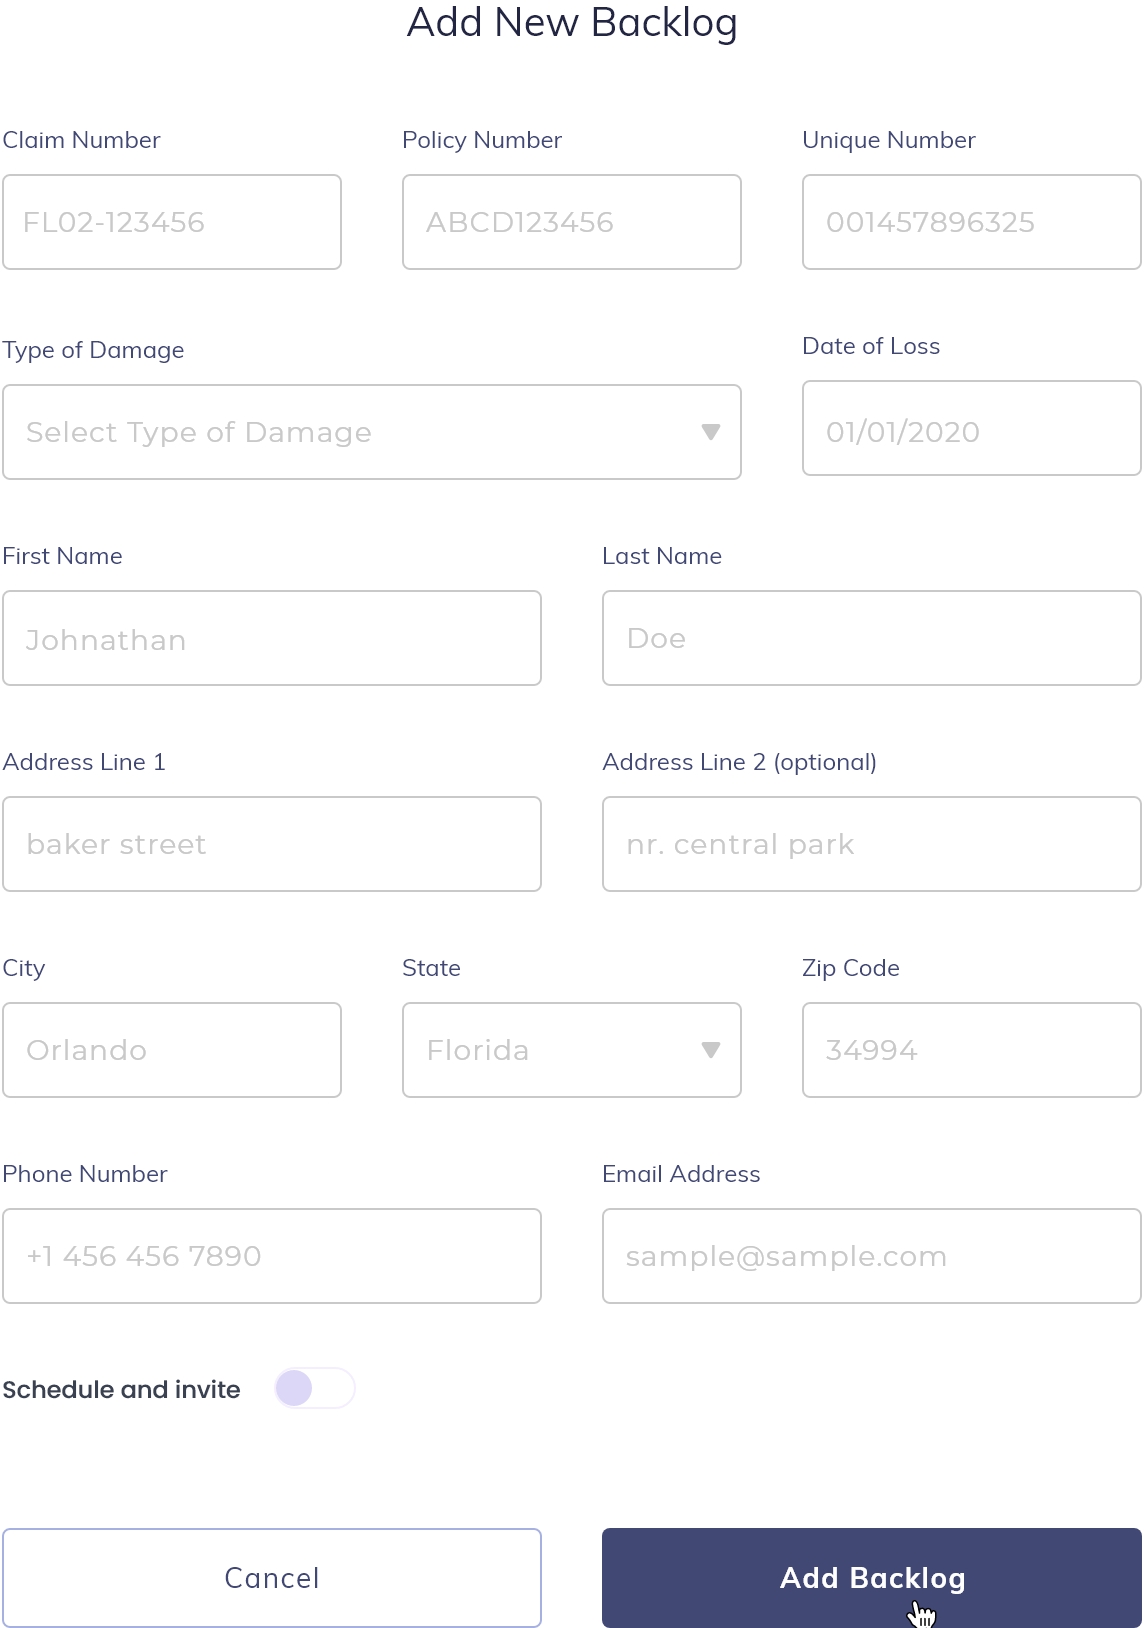
At the top of the screen click + Add New, this will open a new claim.
3.
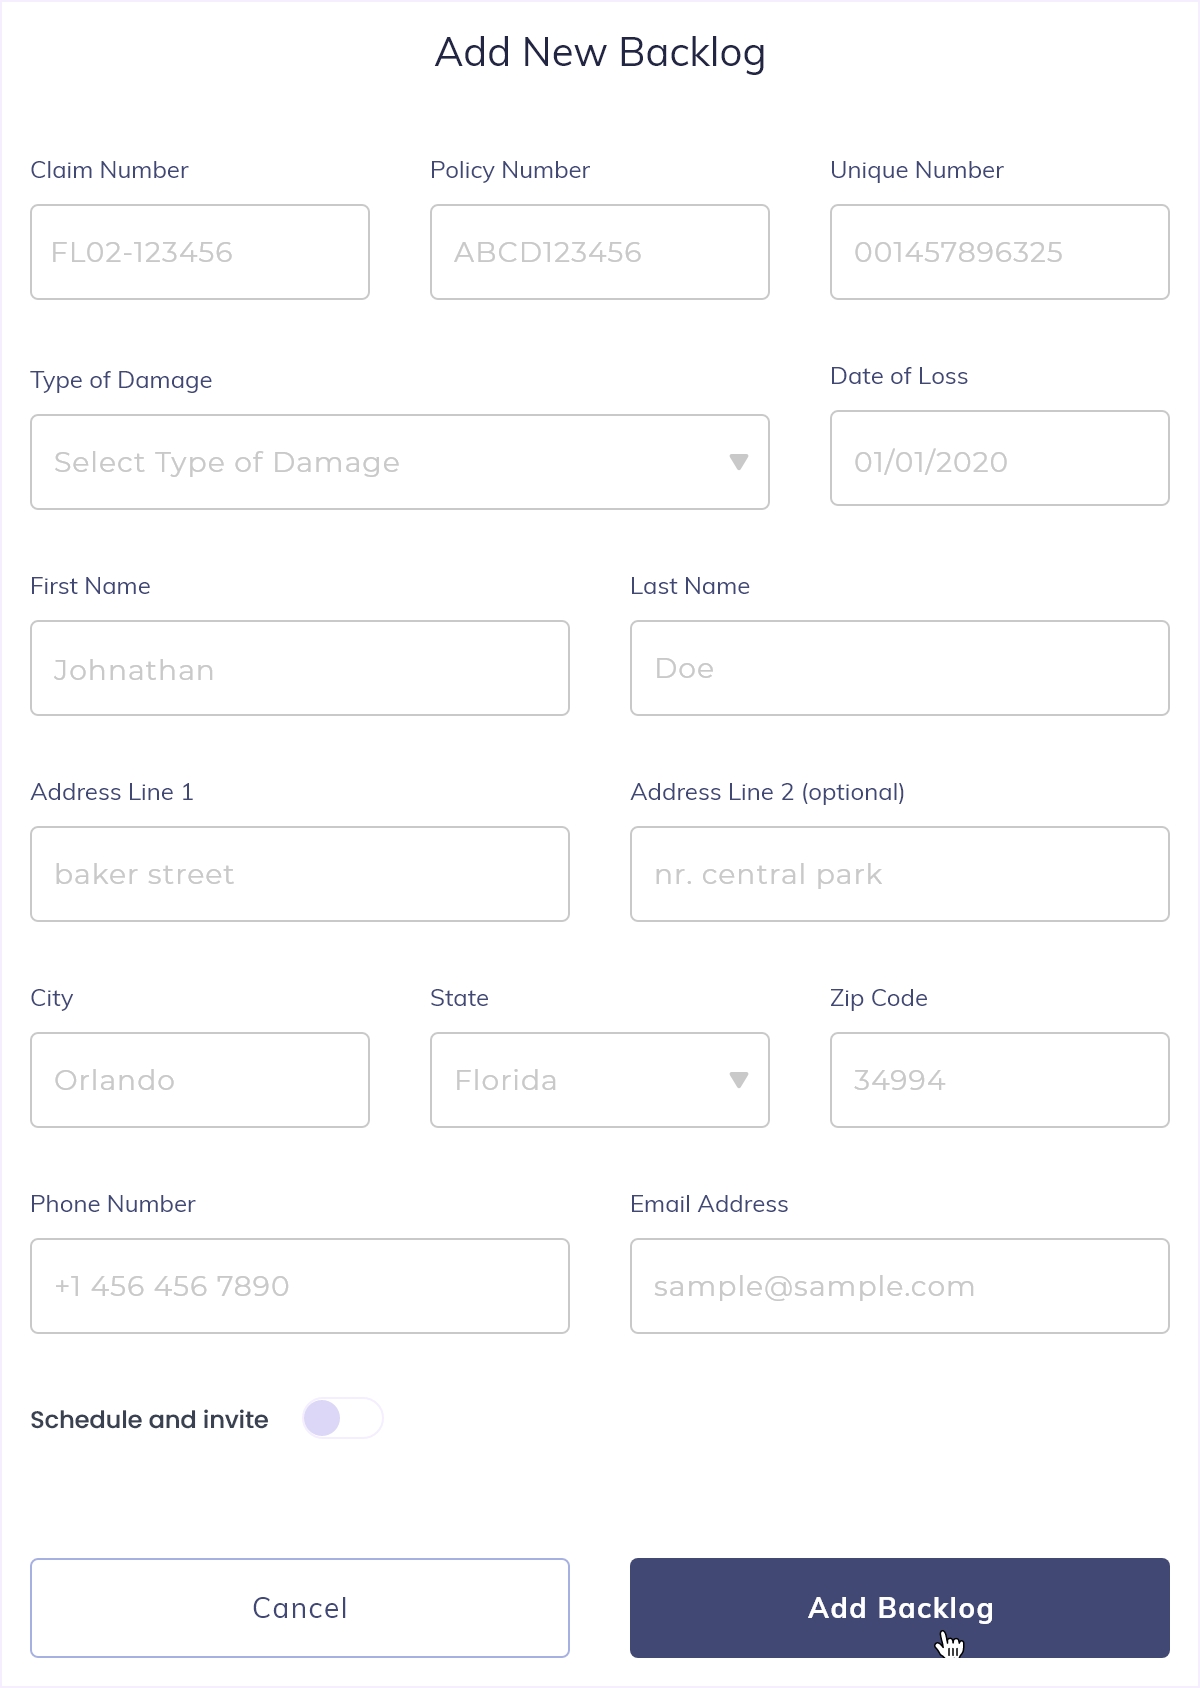
Input claim information and customer information.
It is important to ensure you type in the correct email address of the customer; this is the way we will reach out to your customer to download the Adjustify mobile app.
It is important to ensure you type in the correct email address of the customer; this is the way we will reach out to your customer to download the Adjustify mobile app.
4.
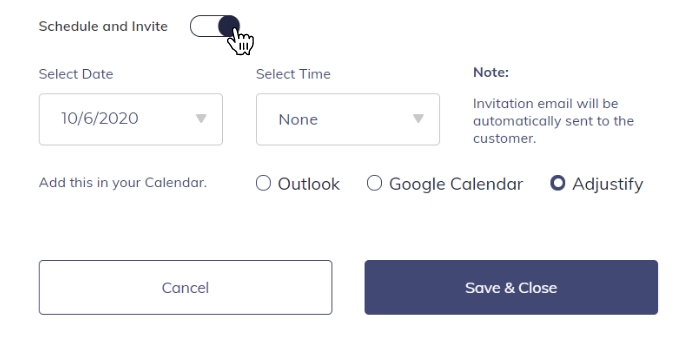
When you add a new claim, you have the option to instantly schedule a call with your customer. Select Schedule and Invite by clicking the toggle button. Select the date and time you wish to call your customer. Clicking save will automatically send an invitation to your customer with instructions on how to download the Adjustify app and a code to accept your call invitation within the app.
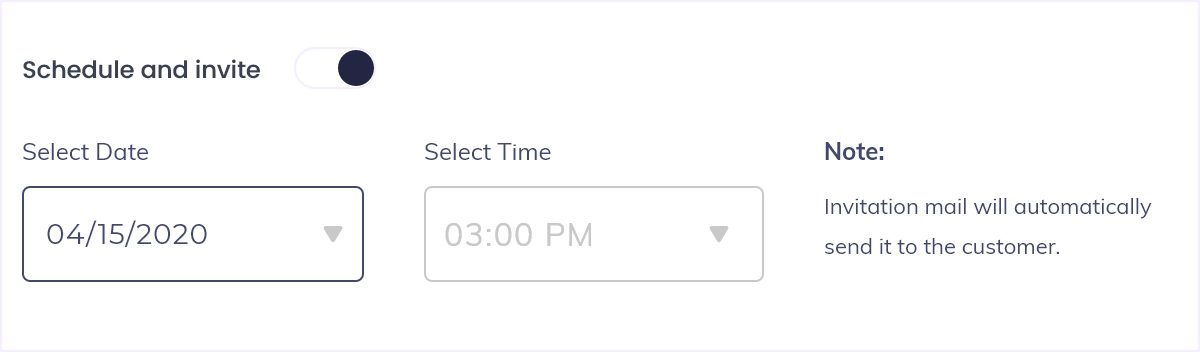
If you do not wish to schedule a call with your customer at this time, simply close the Schedule and Invite section and click Save at the bottom of the form.
5.
After saving the claim, the new claim will appear in the backlog.

Scheduling Video Calls with Adjustify
You can schedule calls 2 ways using Adjustify.
Schedule a call from an existing claim
To Schedule a Video Call, follow these steps.
1.
Hover your cursor on the left-hand side of the screen and a menu will pop up. Click Backlog.
2.
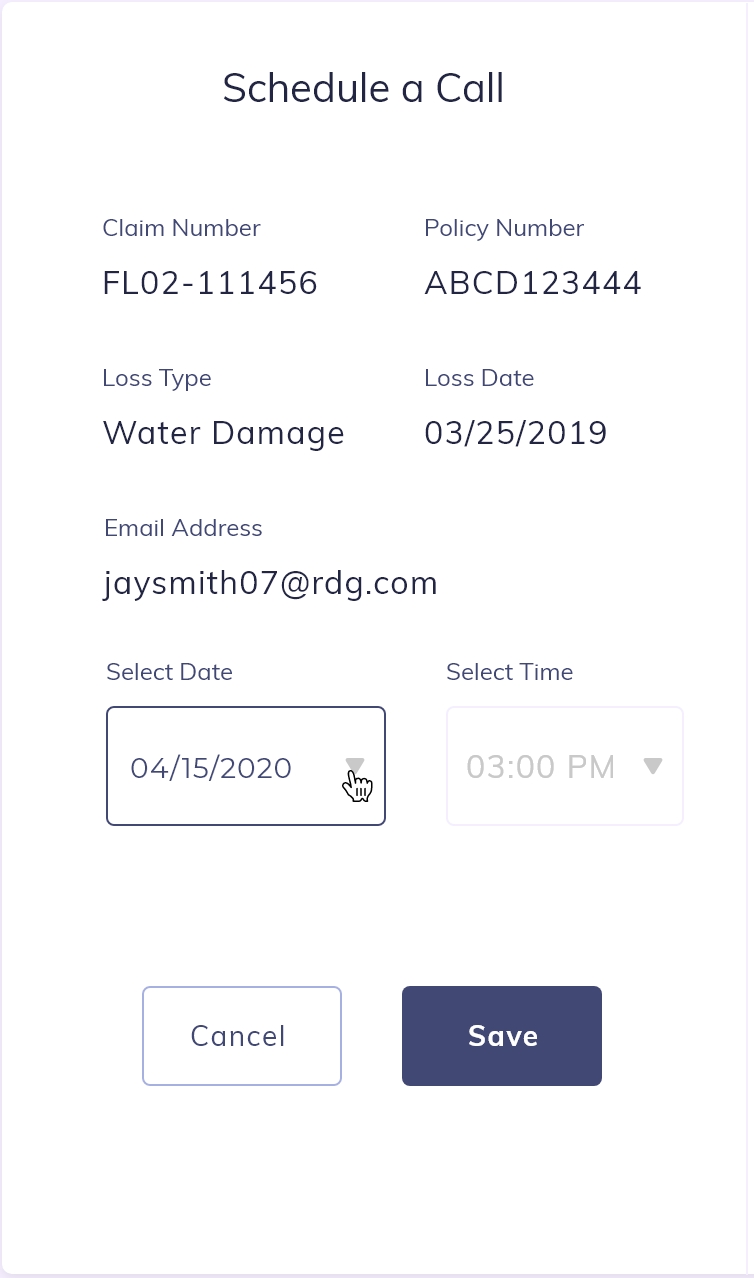
Claims that have already been added will appear in the backlog. Claims waiting to be scheduled will have a Schedule a Call button.

3.
Input all information. *It is important to verify that the email address of the customer is entered correctly. A notification will be sent to your customer to download the Adjustify mobile app.
4.
After saving the claim, the new claim will appear in the backlog.

Add a new claim and schedule a call
1.
Hover your cursor on the left-hand side of the screen and a menu will pop up. Click Backlog.
2.
At the top of the screen click + Add New, this will open a new claim.
3.
Input claim information and customer information.
It is important to verify that the email address of the customer is entered correctly, this is the way we will reach out to your customer to download the Adjustify mobile app.
It is important to verify that the email address of the customer is entered correctly, this is the way we will reach out to your customer to download the Adjustify mobile app.
4.
When you add a new claim, you have the option to instantly schedule a call with your customer. Select Schedule and Invite by clicking the toggle button. Select the date and time you wish to call your customer. Clicking save will automatically send an invitation to your customer with instructions on how to download the Adjustify app and a code to accept your call invitation within the app.
5.
After saving the claim, the new claim will appear in the backlog.
How to download the Adjustify App on iPhone
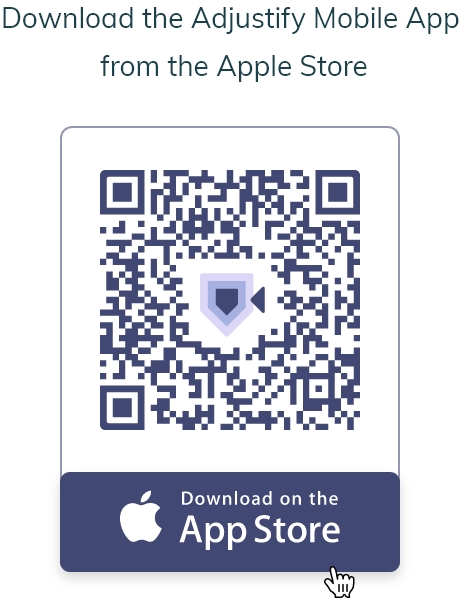
Customers can download the App from App Store link or Scan QR-code below to access the App Store on your device to install the Adjustify App.

To download the Adjustify App from the Apple App Store follow these steps.
1.
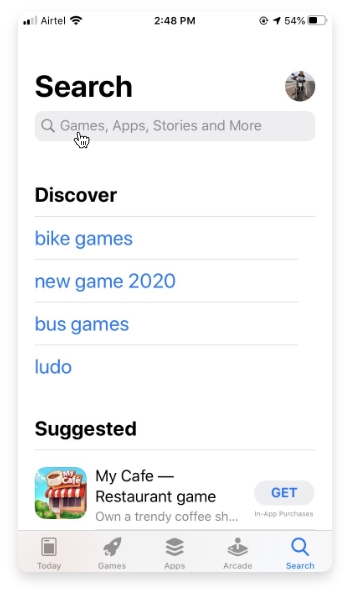
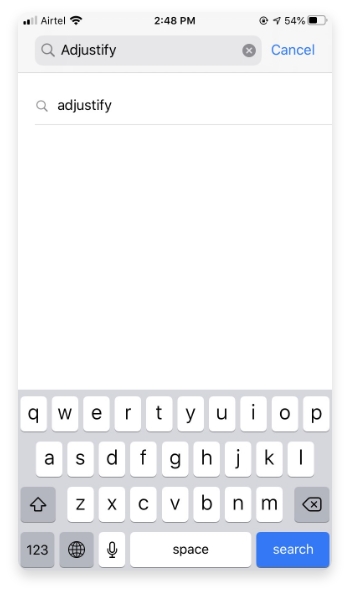
Open the App Store application on your iPhone & Click on search.
2.
Enter Adjustify in the search field and press search.
3.
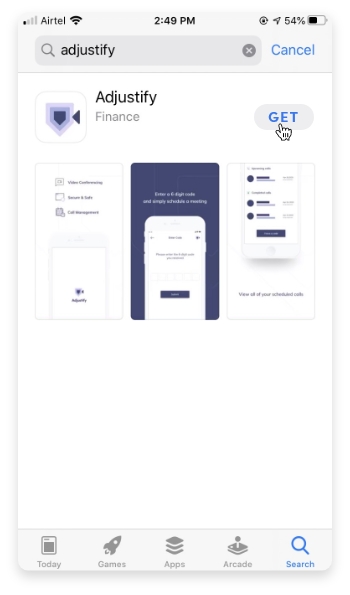
An Adjustify app will appear, Click on GET.
4.
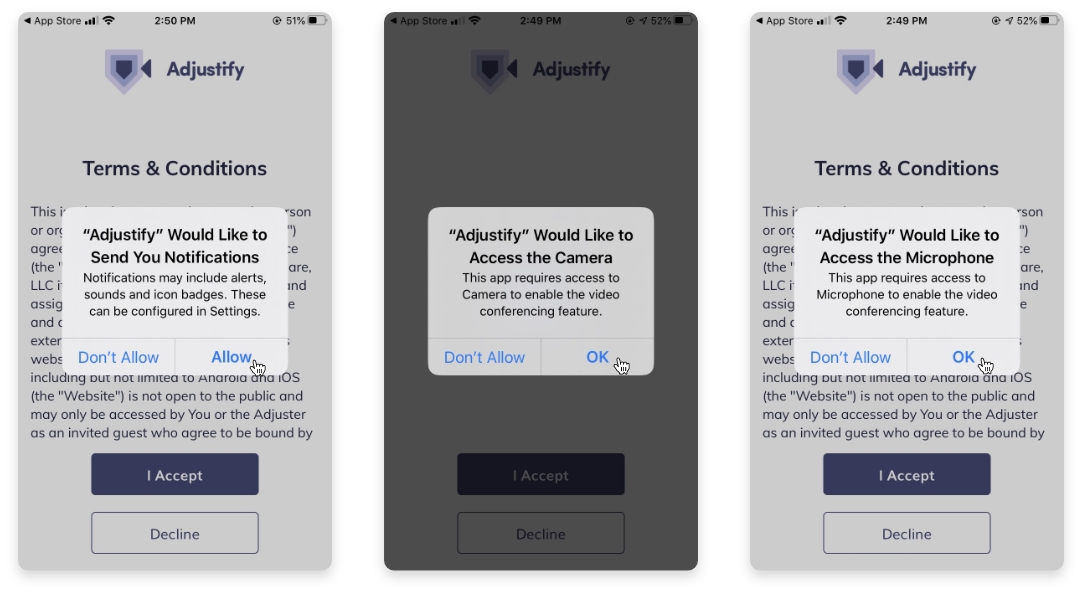
Open the app and accept permissions for Camera, Microphone and Notifications.
5.
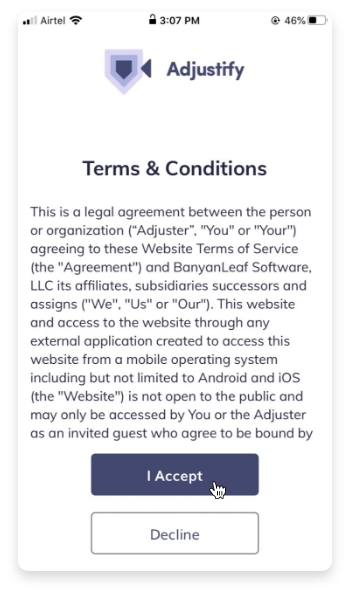
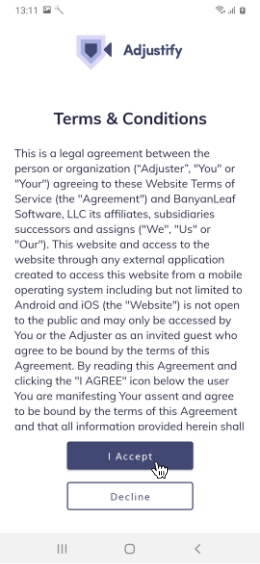
A Terms & Conditions page will appear Press - I Accept.
How to download the Adjustify app on Android
Customers can download the App from Google Store link or Scan QR-code below to access the Google Play on your device to install the Adjustify App.

To download the Adjustify App from the Google Play Store follow these steps.
1.
Open the Google Play Store application on your Android Phone & Click on search.
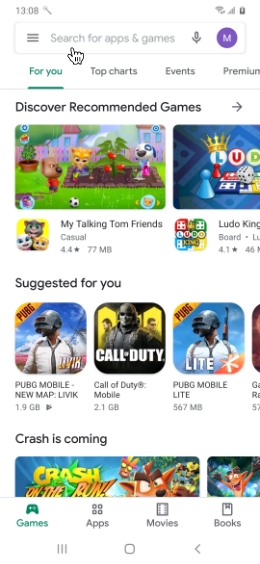
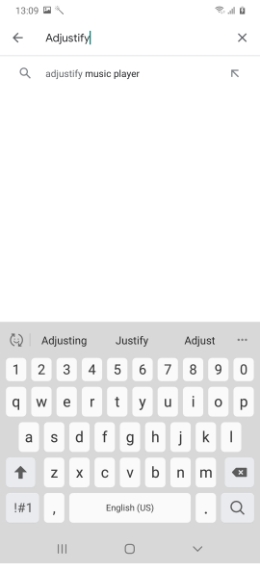
2.
Enter Adjustify in the search field and press search.
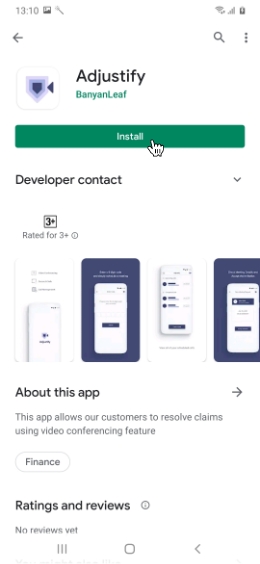
3.
An Adjustify app will appear, Click on INSTALL.
4.
Open the app and Allow for Camera, Microphone and Notification
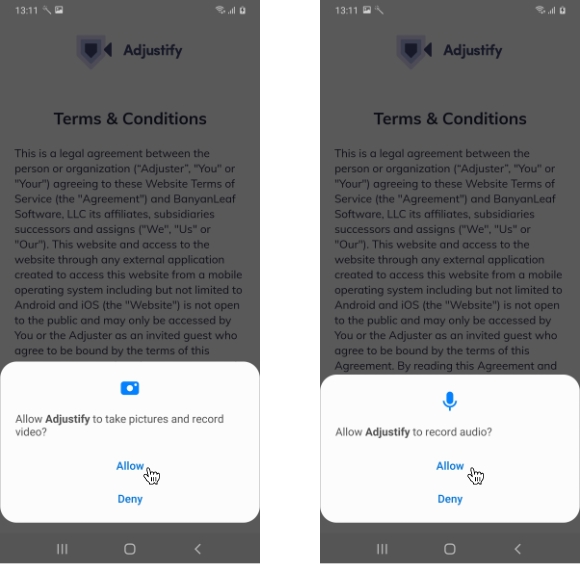
5.
A Terms & Conditions page will appear Press - I Accept.
How to use the Chat Feature
The chat feature allows users and their customers to communicate back and forth and securely upload photos, video and files through Adjustify.
There are two ways to begin a chat.
1.
To access the chat feature from the dashboard, the call needs to be scheduled.

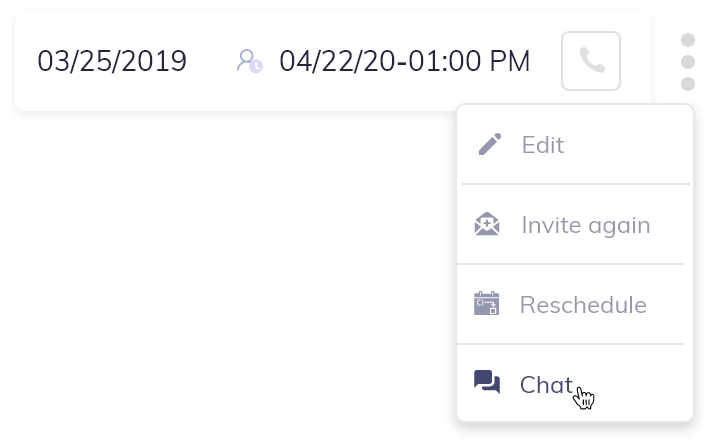
2.
Once the call has been scheduled, click on the (3) dots and choose chat to start a conversation.
3.
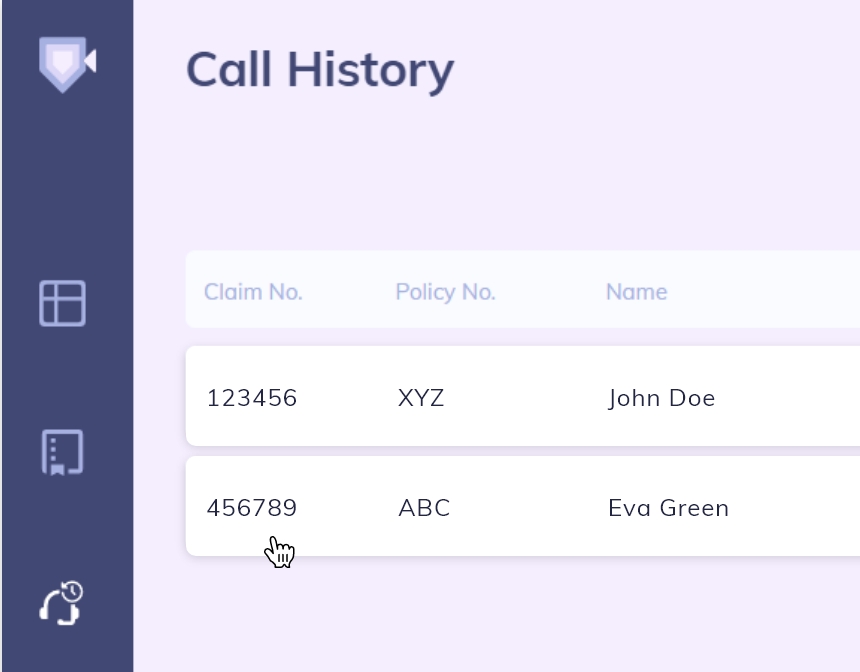
To access the chat feature from the online portal, go to the Call History screen.

4.
Scroll to select the customer.
5.
Click the message icon to open the chat feature.

6.
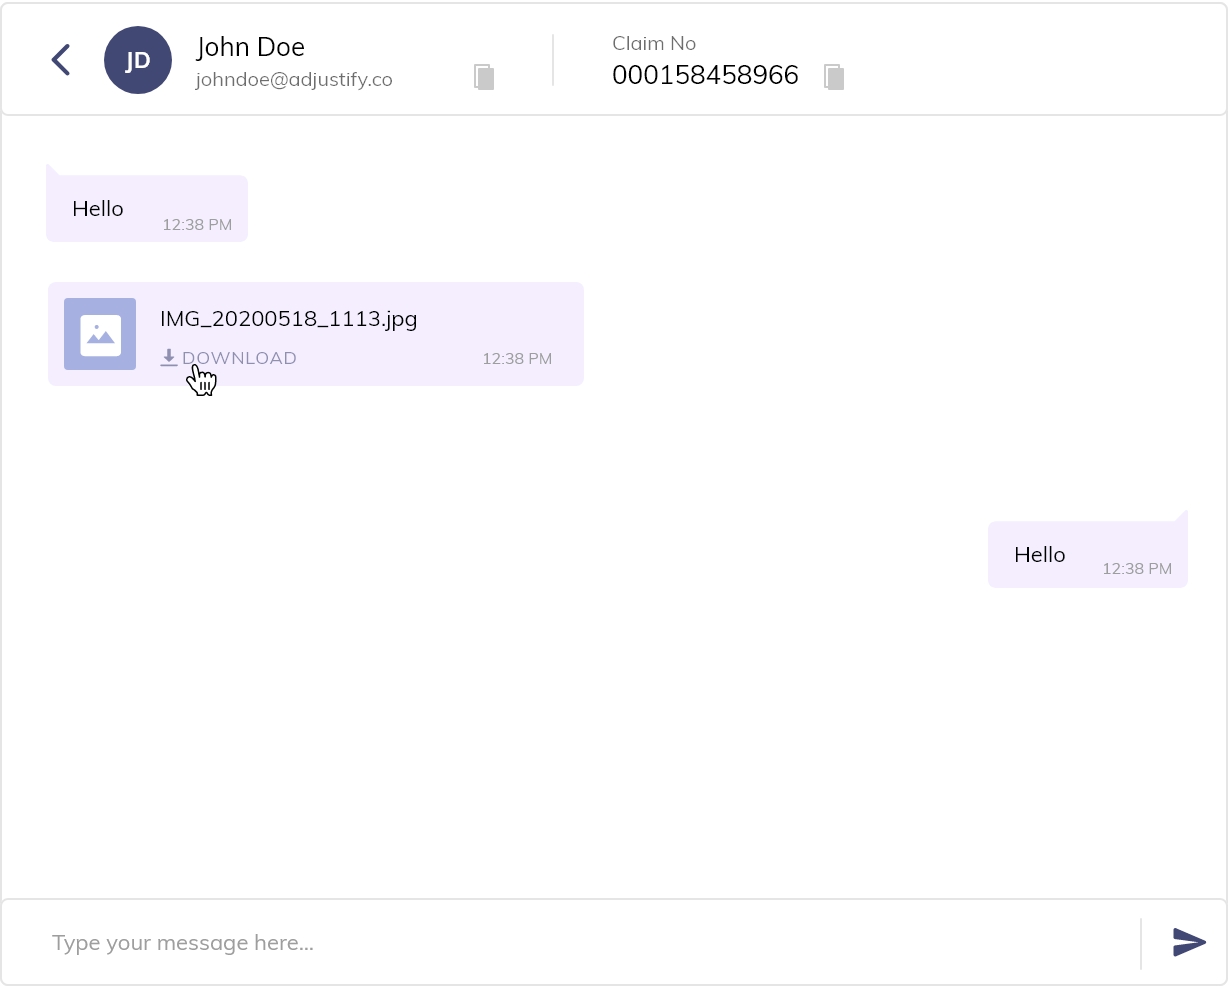
Users can send messages as well as download files from their customers.
7.
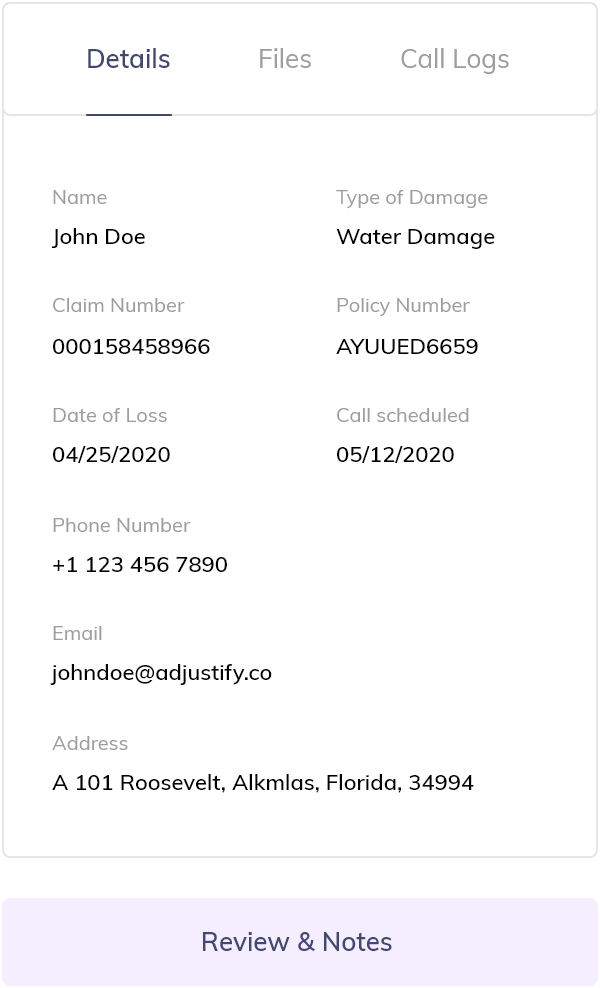
On the right side of the screen users can view claim Details, Files and Call Logs.
8.
To add files to the claim, click on File. The files will load to the screen where you can select the images. Once selected, click Copy to Review and Notes.
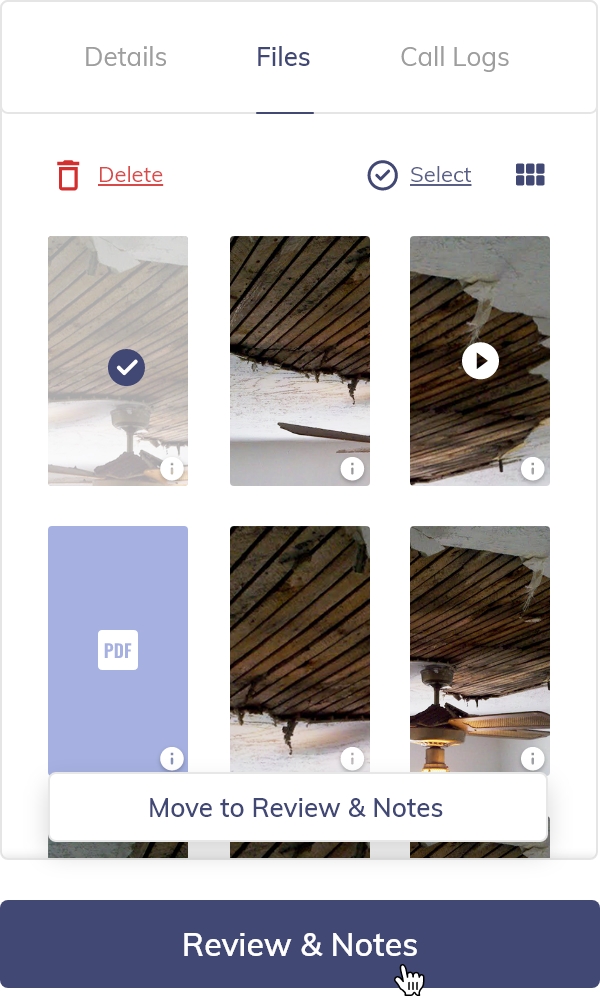
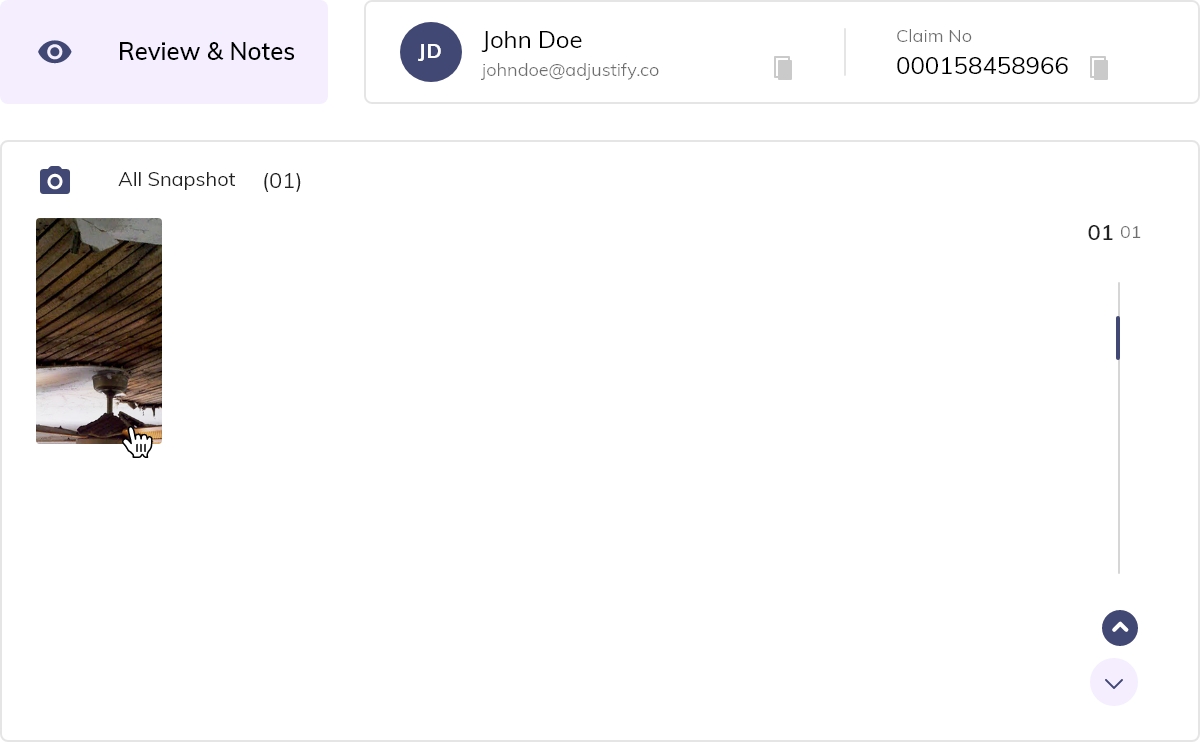
9.
Now your files will appear with the images and videos taken on the call in the Review and Notes screen.
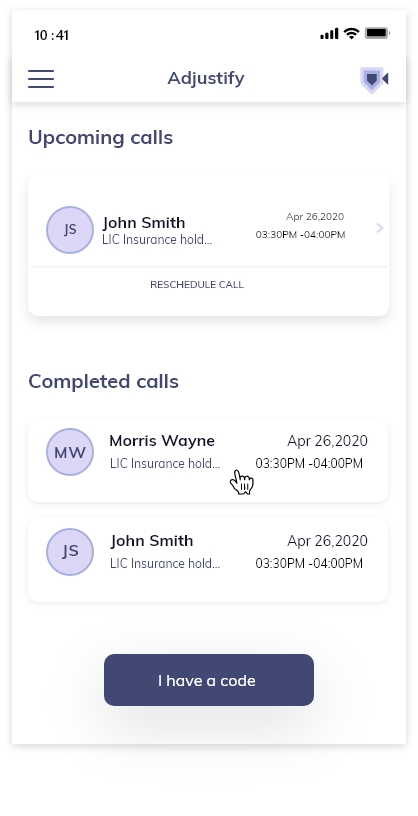
Customers can chat with their representatives after a call.
To start a chat, go to View History and select your representatives name from the completed call history.
Here you can type a message to your representative.
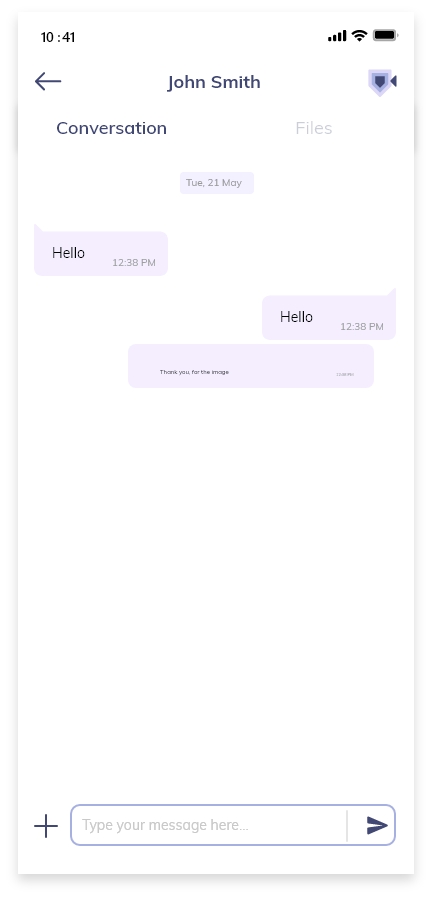
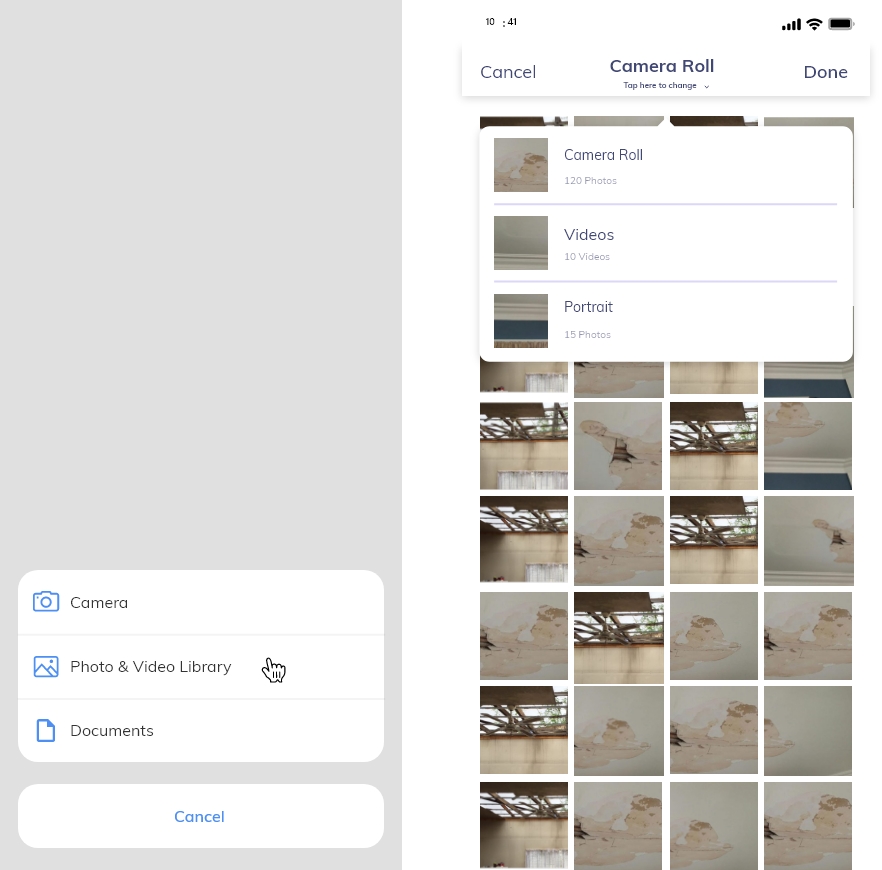
To add a file, tap the plus sign on the left. Choose Camera-to take a new photo, tap Photos-to add a photo from your camera roll, tap Video-to add a video from your phone, tap Record Video-to take a new video, select Documents-to upload files on your phone.
How to Check Messages.
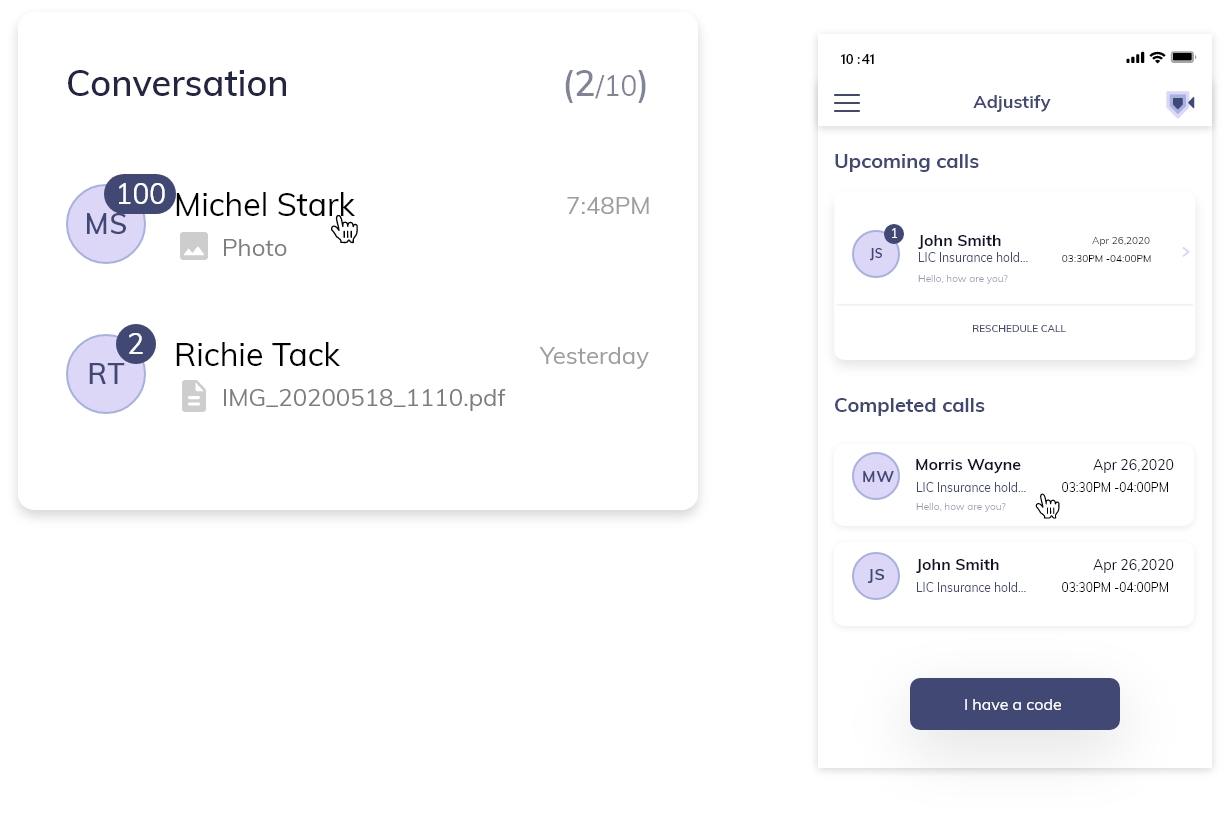
Messages will appear in the online chat window during active conversations. Users can also see they have a message waiting in the Chat panel, on the Dashboard.
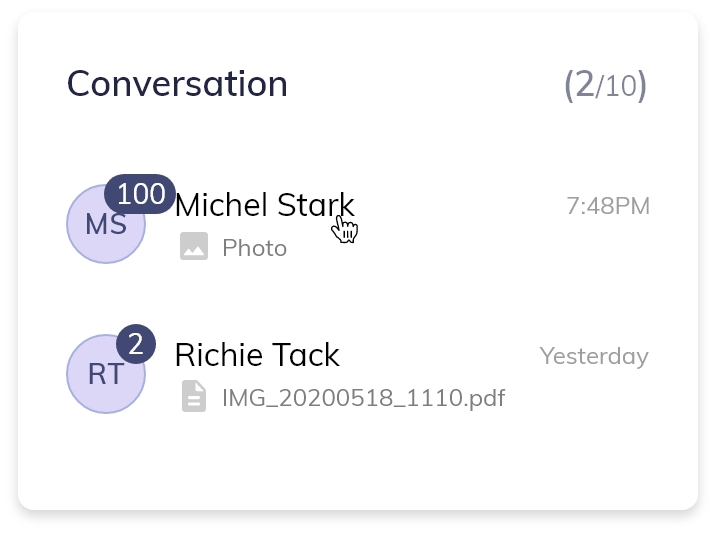
The mobile app will display a numeric value in the Completed Calls panel, which indicates the number of messages waiting to be reviewed.
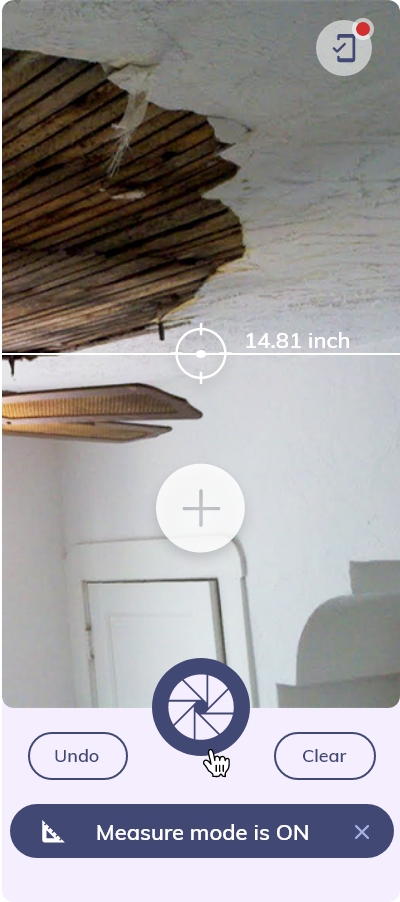
How to use the Measure Feature
Users can now take measurements during video calls with their customers.
1.
During the call select the ‘angle’ icon to turn on the measurement feature.
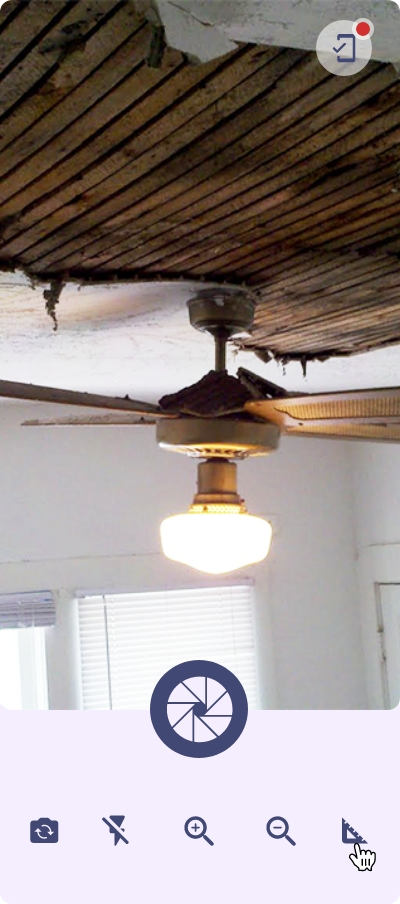
2.
When the measurement feature is on, a measurement point can be initiated by the online user or through the customers app.
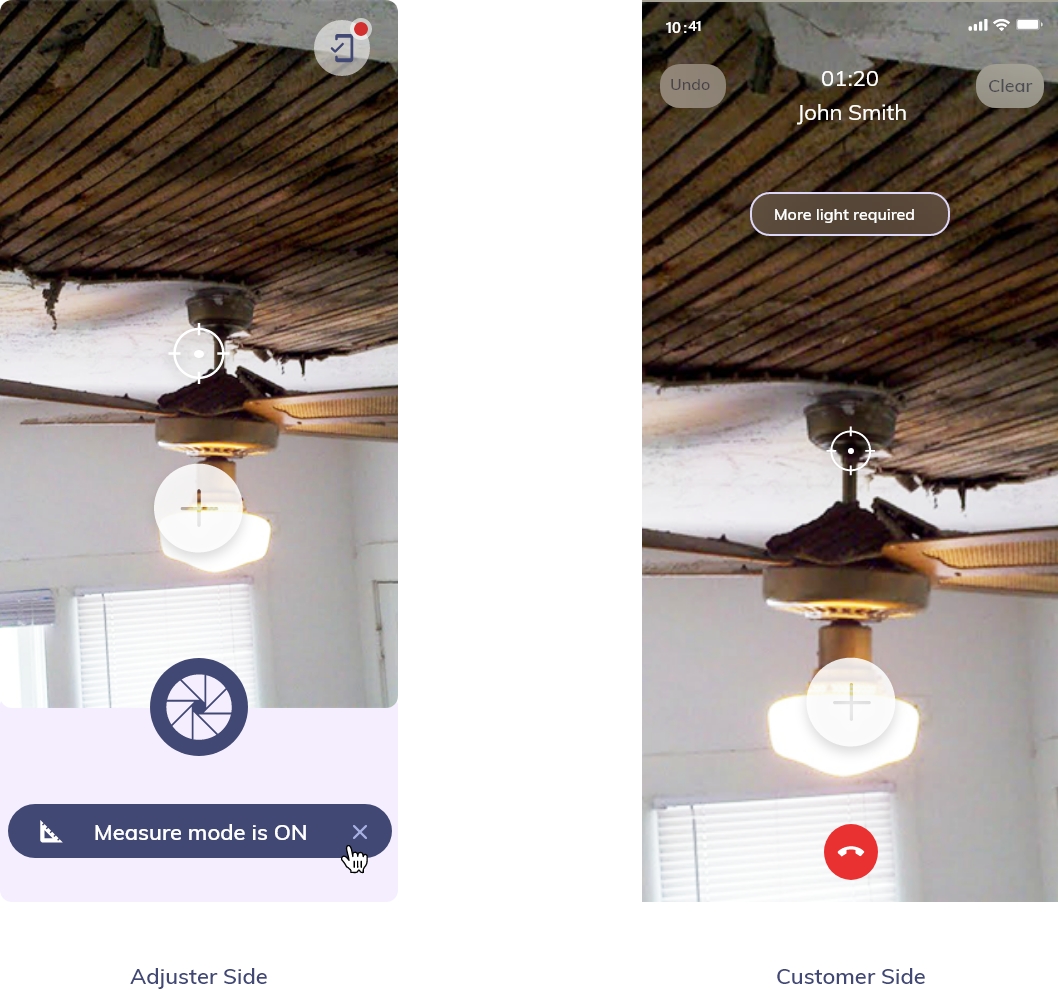
3.
To take a measurement, locate the ‘target’ icon and instruct user to position it at the starting point.
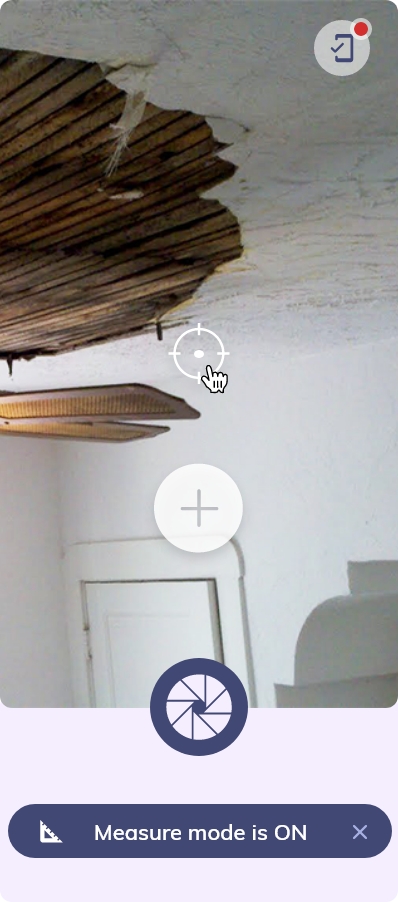
4.
Click the + button to start the measurement process. If icon is grey or measure feature doesn’t start, instruct customer to move closer or turn on more light.
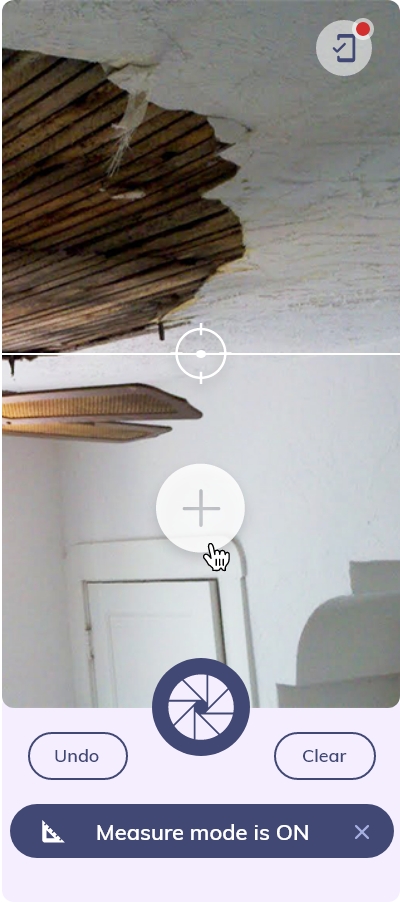
5.
Instruct customer to slowly move the camera from the starting point to the end point. When the camera reaches the end point, click the + button to stop the measurement.

6.
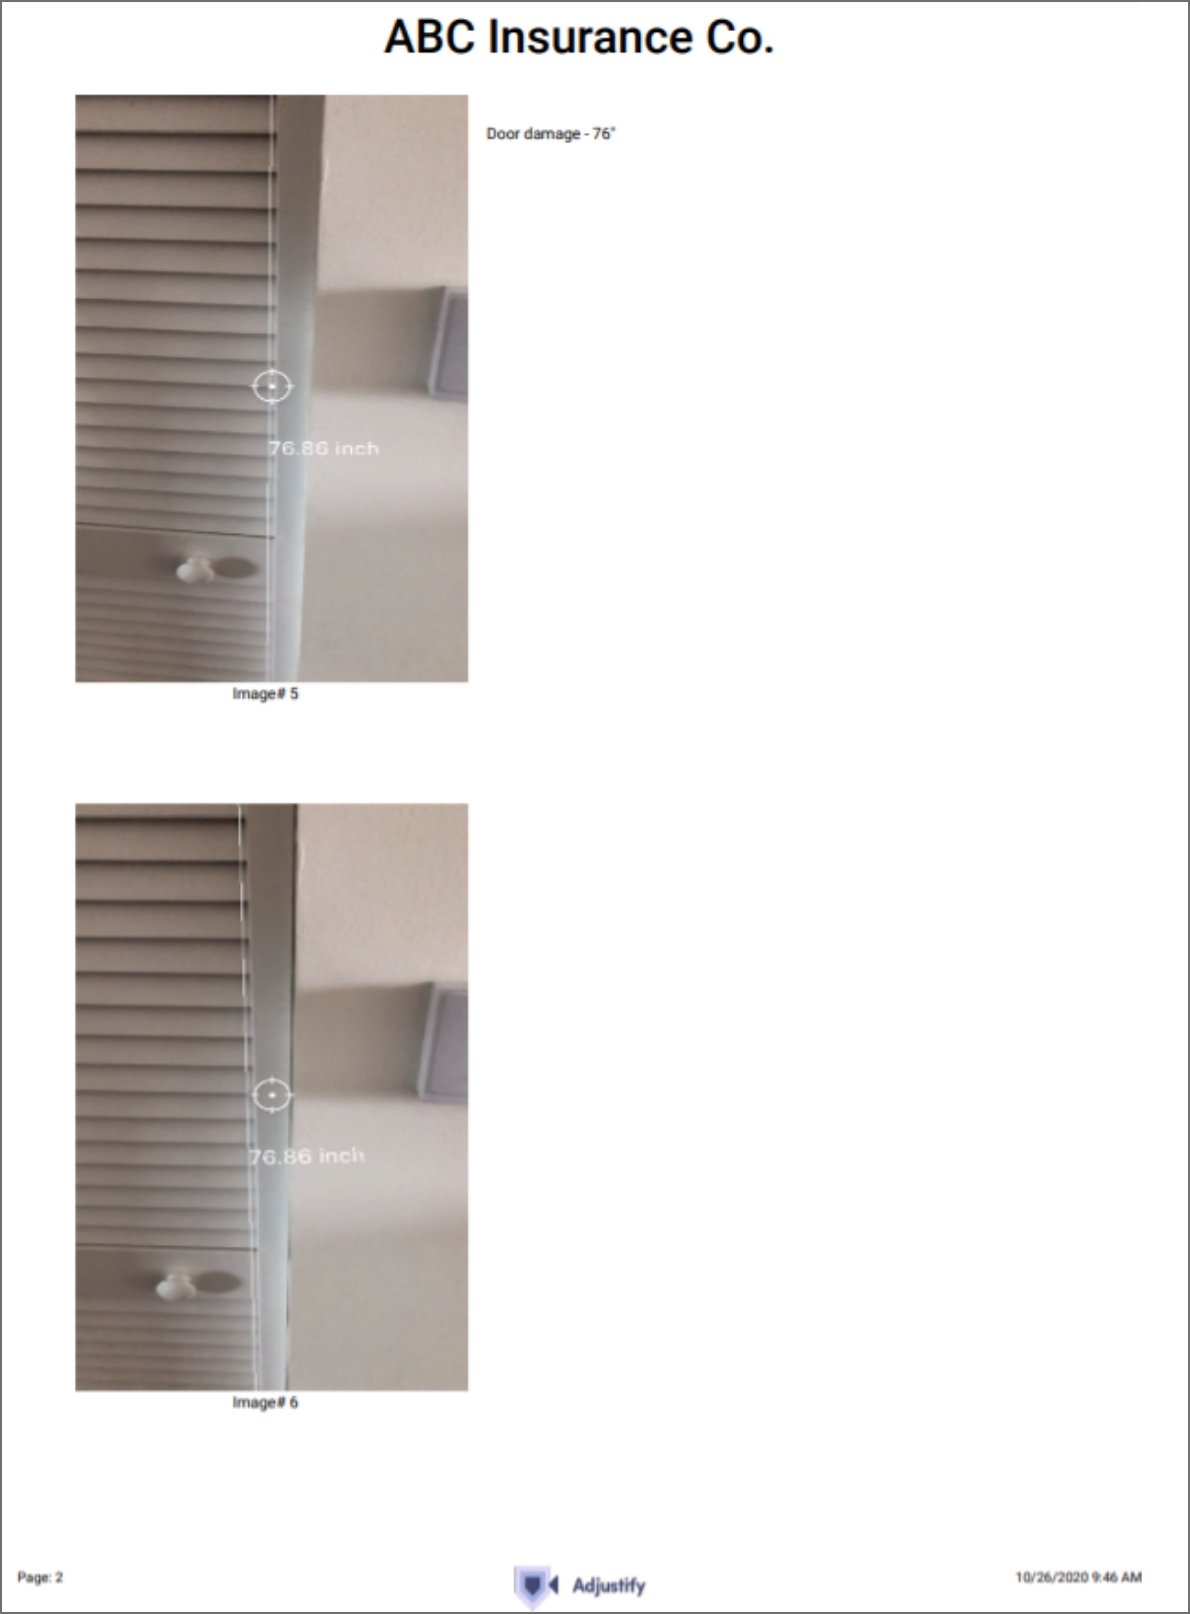
Prompt your customer to move their phone close to the numbers. When measurement is clearly visible, take a picture using the capture button on the screen.
7.
If you need to undo a measurement, user can click undo. If you wish to clear all measurements from the screen click clear.
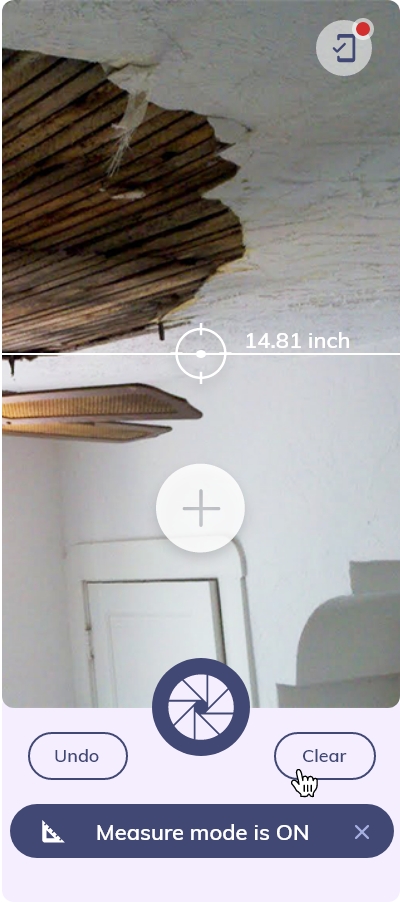
8.
If you accidentally clicked clear or undo before taking a photo, don’t worry your measurements will be visible on the video recording after the call.
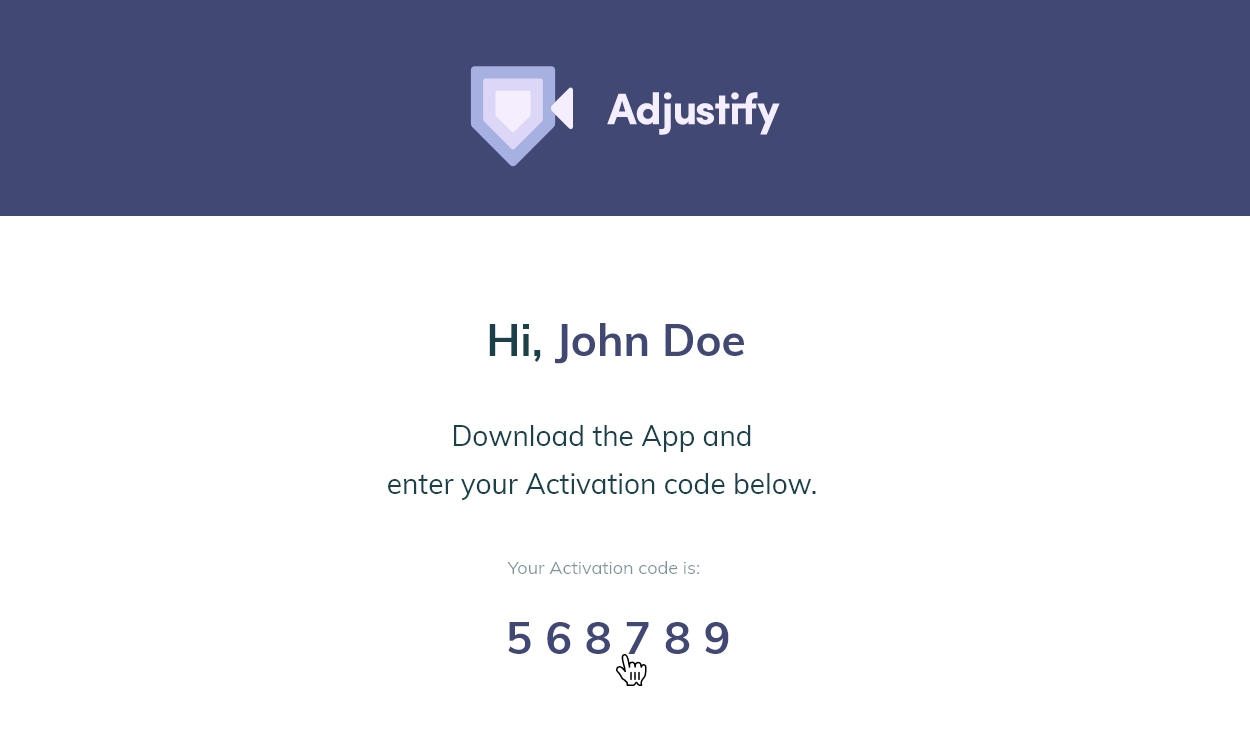
How to Enter an Activation Code
Once a call has been scheduled, an activation code will be sent to the customers email.
1.
Check your inbox for an email titled - Adjustify Activation Code, 6 digit code in Email (if you don's see it in your inbox, check your spam or junk).
2.
In the email there are two ways to download the app. Simply click the download from the App Store button or take a picture of the QR code to open the App Store link.
3.
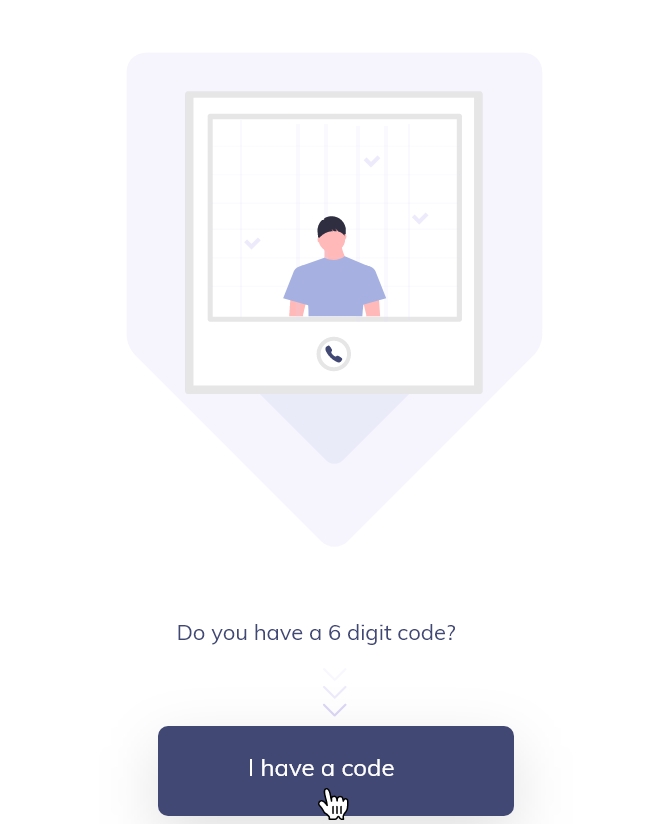
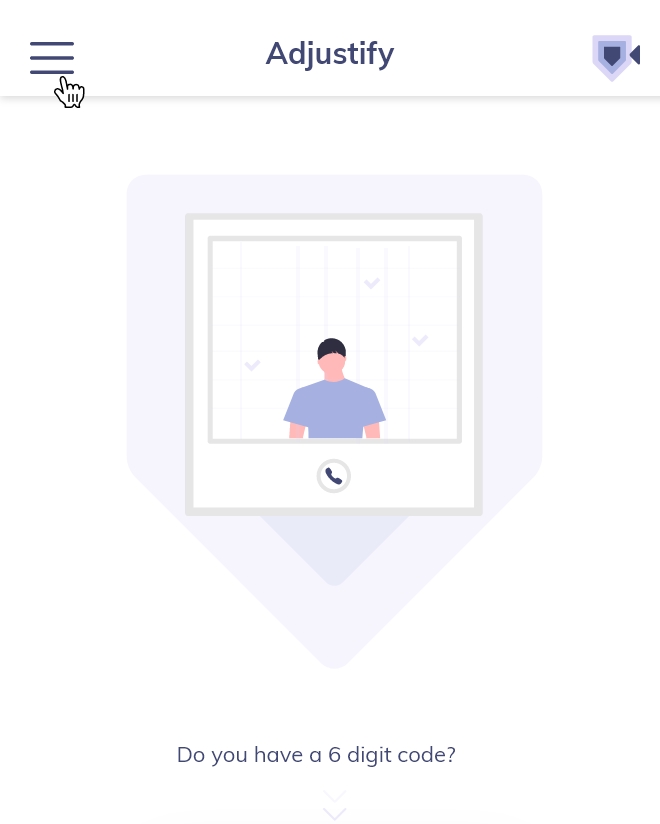
Once the app is downloaded, Open the Adjustify App on your mobile device, you can see the button I have a code, Click on it.
4.
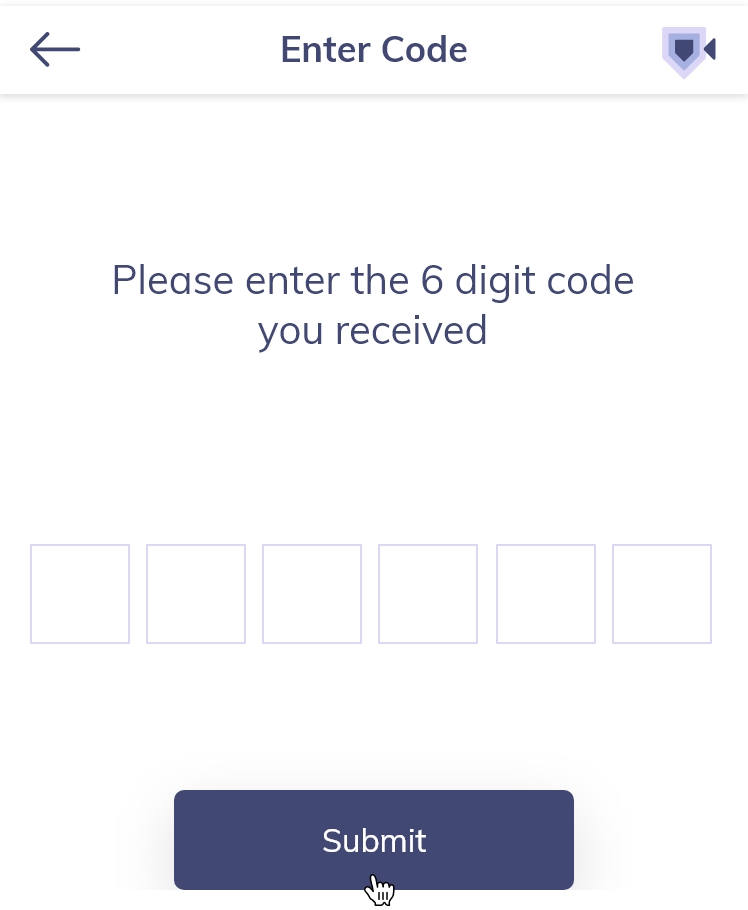
Enter your 6 digit code, and Click Submit button.
5.
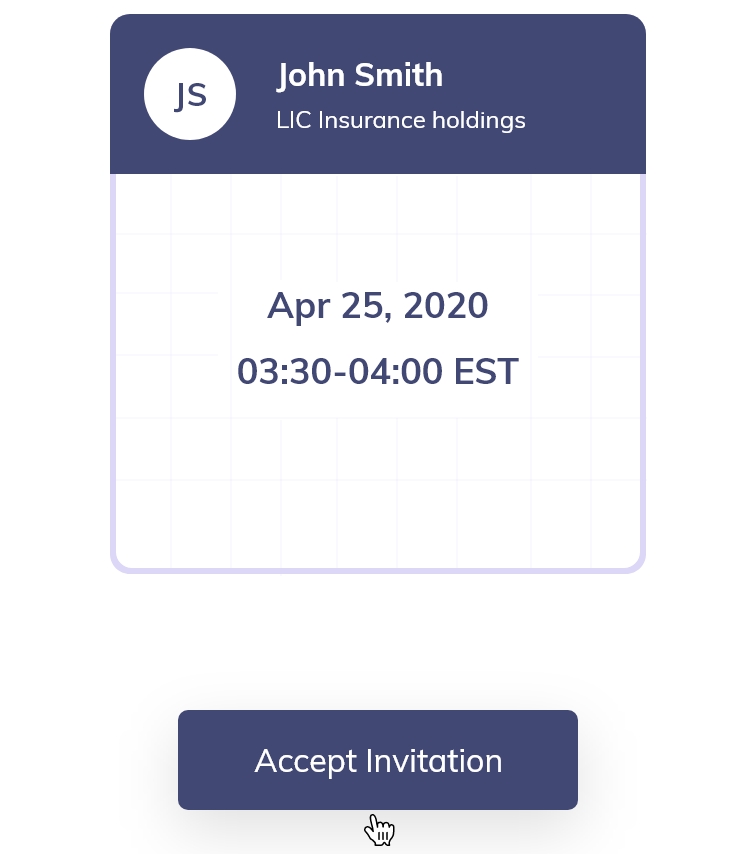
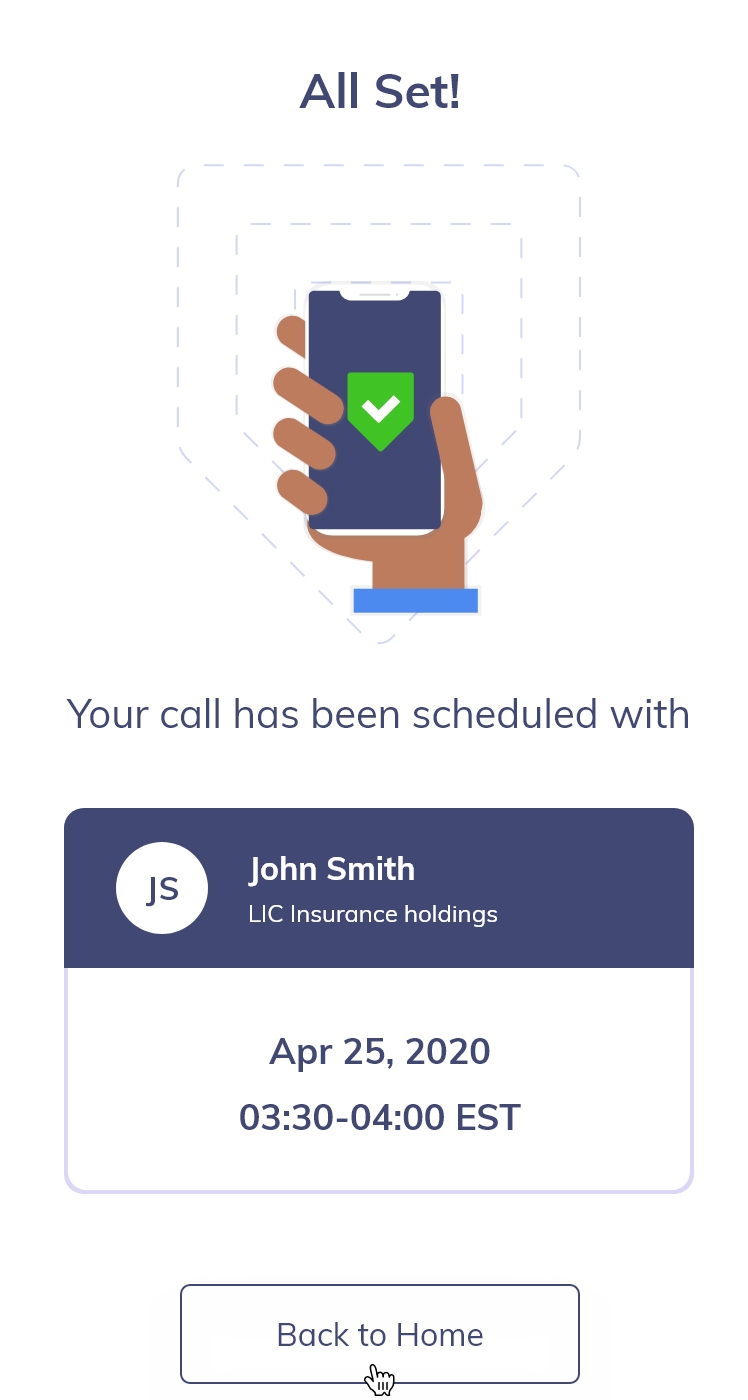
You can see the information of the person with your call scheduled,
Click Accept Invitation.
Click Accept Invitation.
6.
A ‘Success!’ message will appear that your call has been scheduled.
How to use Video Diagnostics tools
The Adjustify mobile app also has a built in Video Diagnostics tool.
1.
Users should prompt their customers to open the Adjustify app on their mobile device.
2.
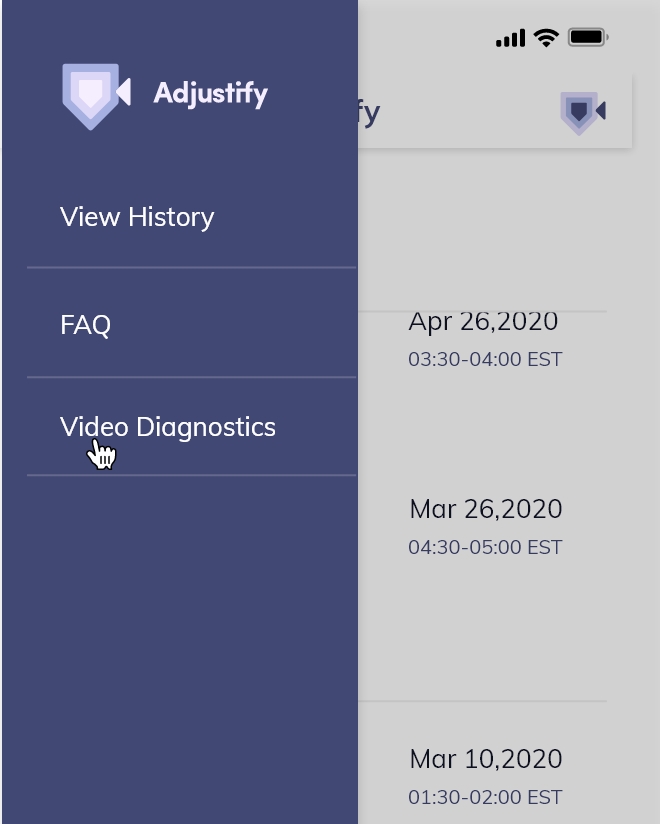
Tap the three lines in the top left corner of the screen to access the menu.
3.
Select Video Diagnostics from the menu.
4.
Tap Go.
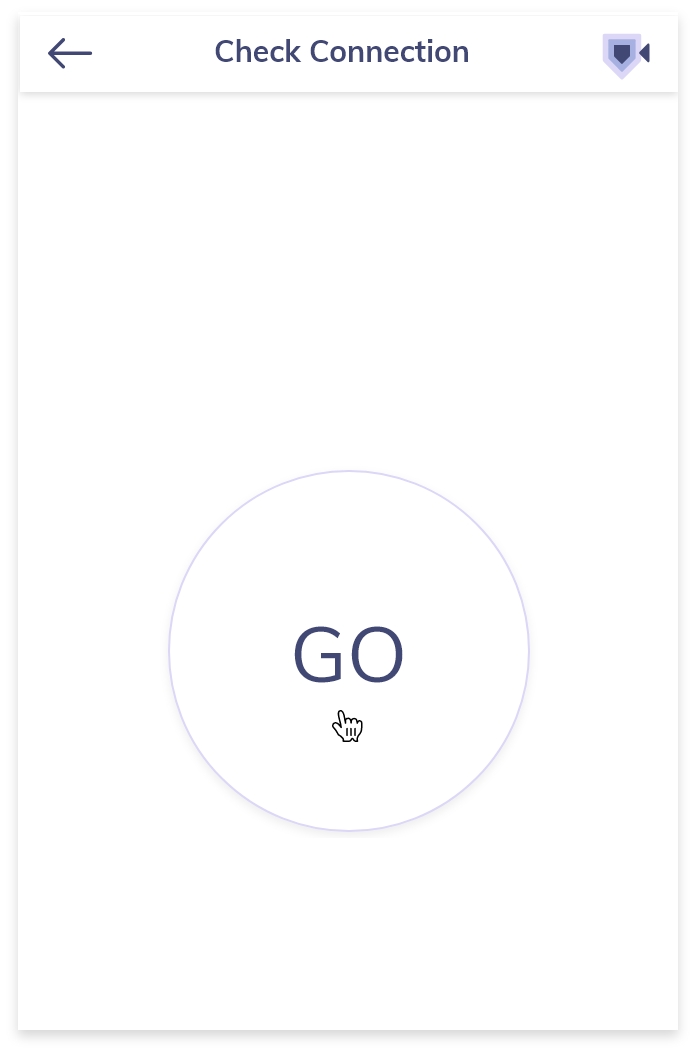
5.
The app will run diagnostic tests.
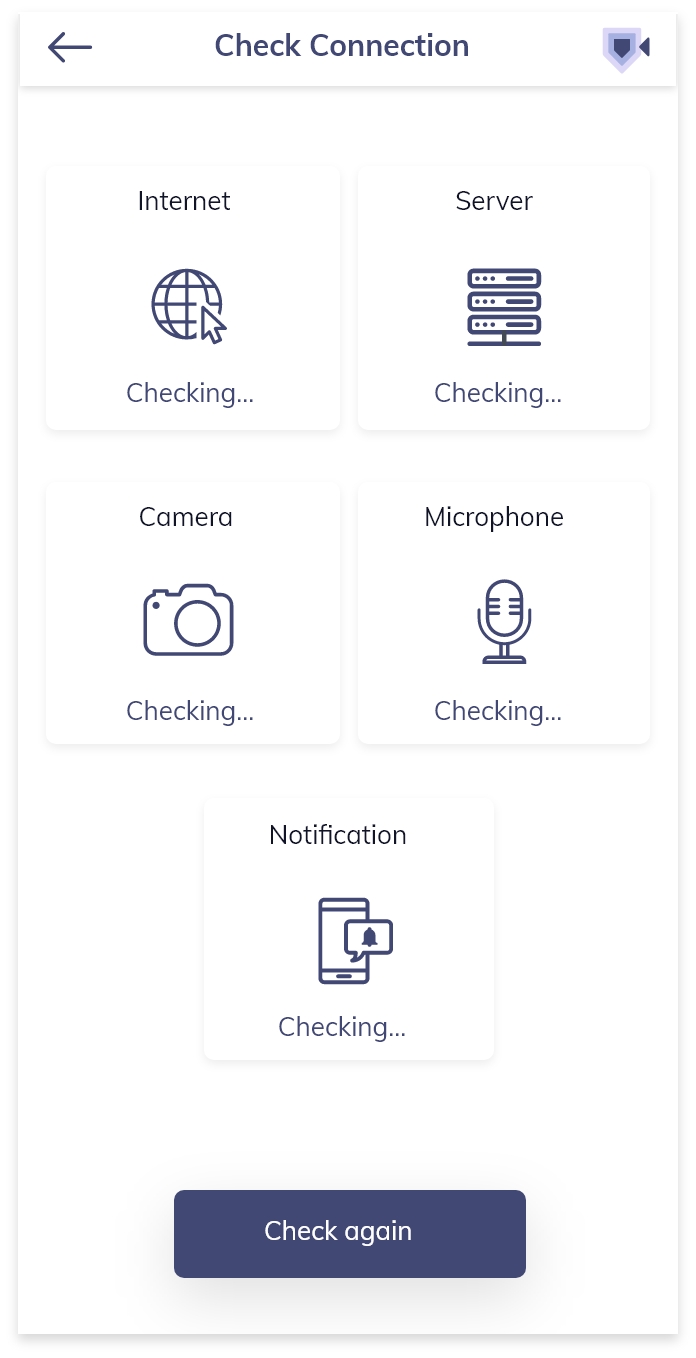
6.
Results will appear below each item.

How to Check the Customer App Connection
To verify a good connection, follow these steps.
1.
Once you initiate a call from the backlog, the following screen will appear.
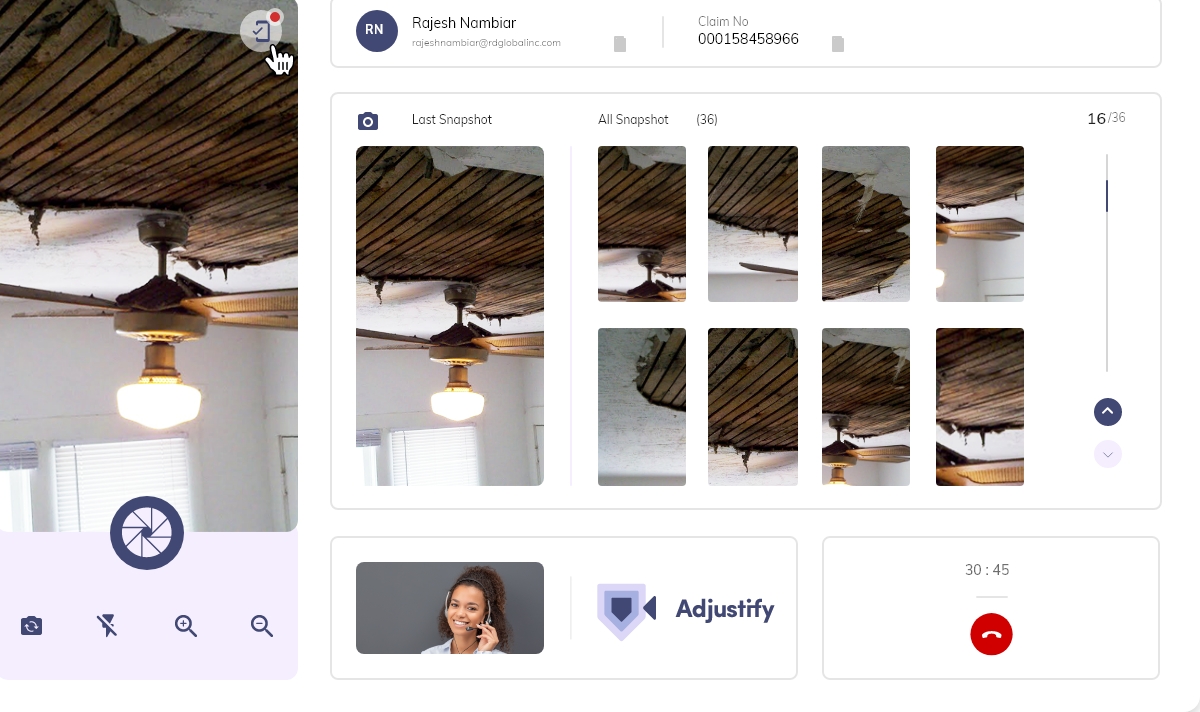
2.
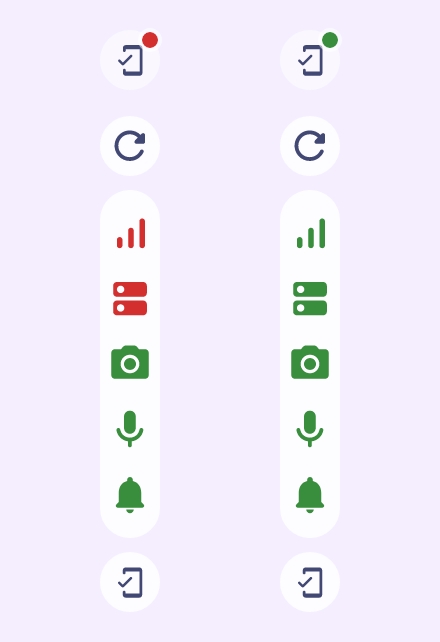
In this view, users are able to determine if the customer has a good or bad connection and has accepted all necessary permissions on their phone. Icons represent Internet Connection, Server Connection, Camera Access, Microphone Access and Push Notification Permission.
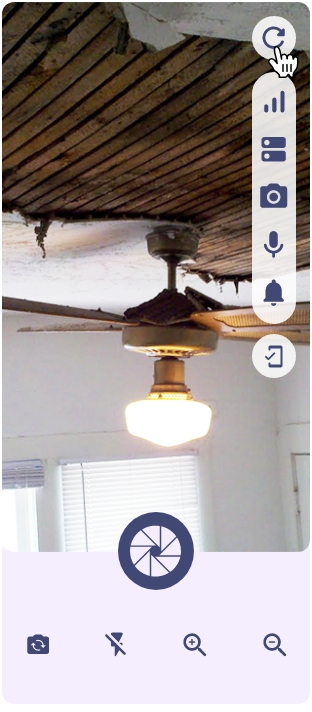
3.
A green dot at the top of the phone shows your customer has a good connection and is ready for your call. A red dot at the top indicates one or more icons are red and the customer call might not be successful. Suggest trouble shooting ideas, then use the refresh icon to see if issues are still present.
How to Start a Call
To Start a Call, follow these steps.
1.
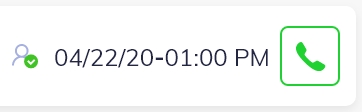
Before a call can be started, be sure that the customer has accepted the invite. To do this, go to the Backlog and locate the entry. If the phone icon is green, the customer has accepted the invite.

2.
Click the phone icon to open the call screen.
3.
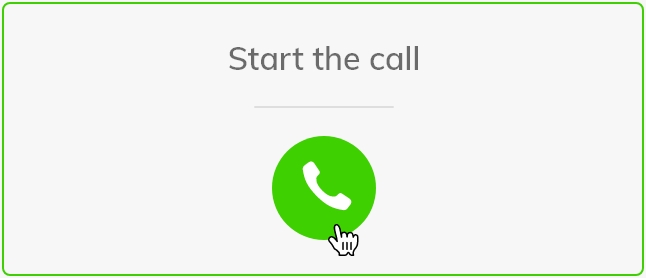
This will take you to the Call Page.
Click the phone icon at the bottom of the page to start a call.
Click the phone icon at the bottom of the page to start a call.
Access Camera Features During Video Calls
How to utilize Customer camera features during a call.
1.
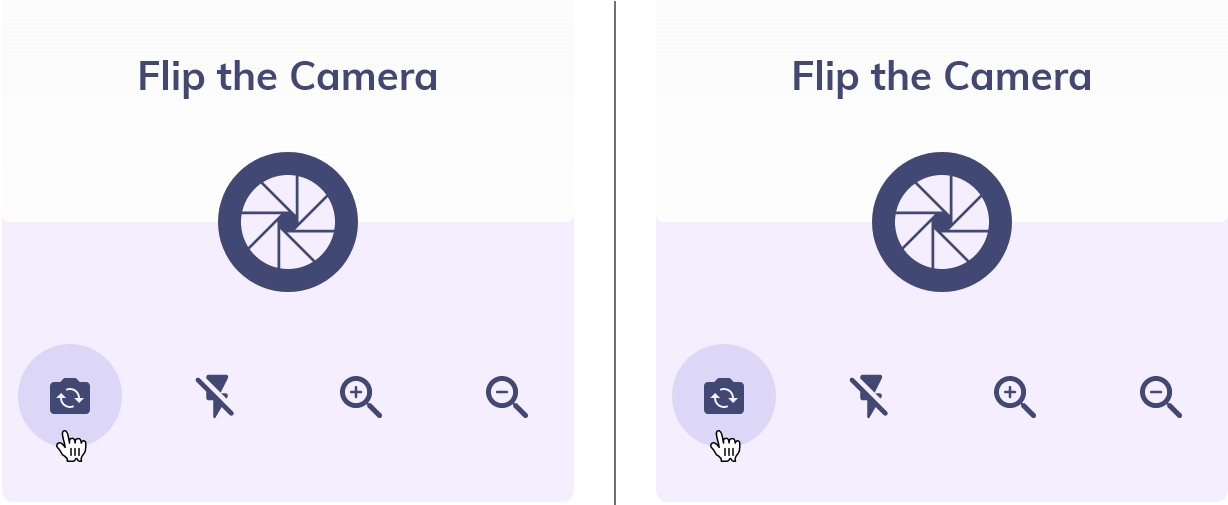
Calls start with the camera face-to-face with your customer. In order to see your customers view, Flip the Camera.
2.
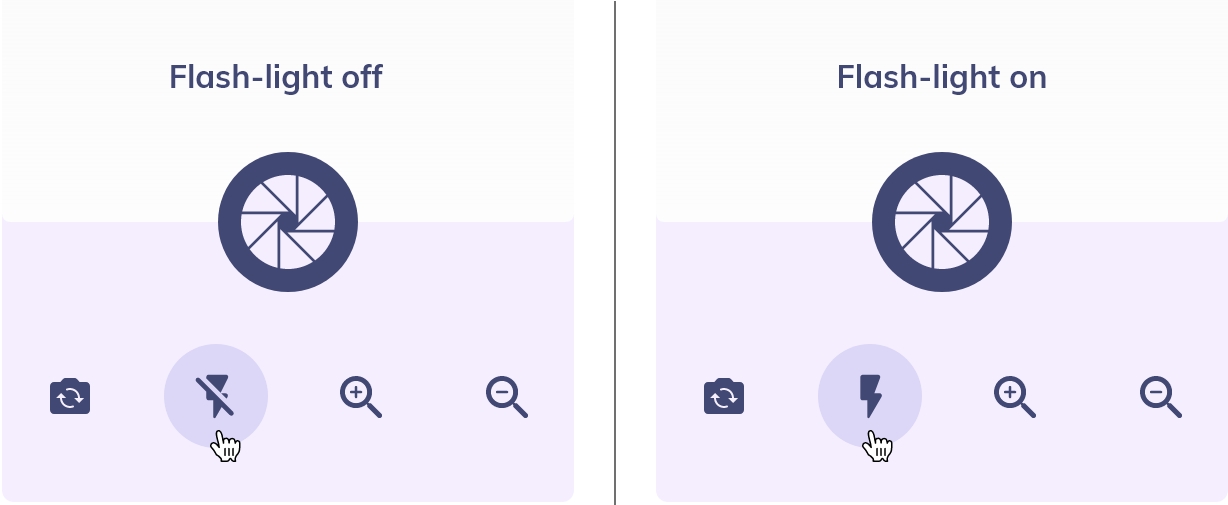
Click on the flashlight icon to illuminate images.
Click on the flashlight icon again to turn off.
Click on the flashlight icon again to turn off.
3.
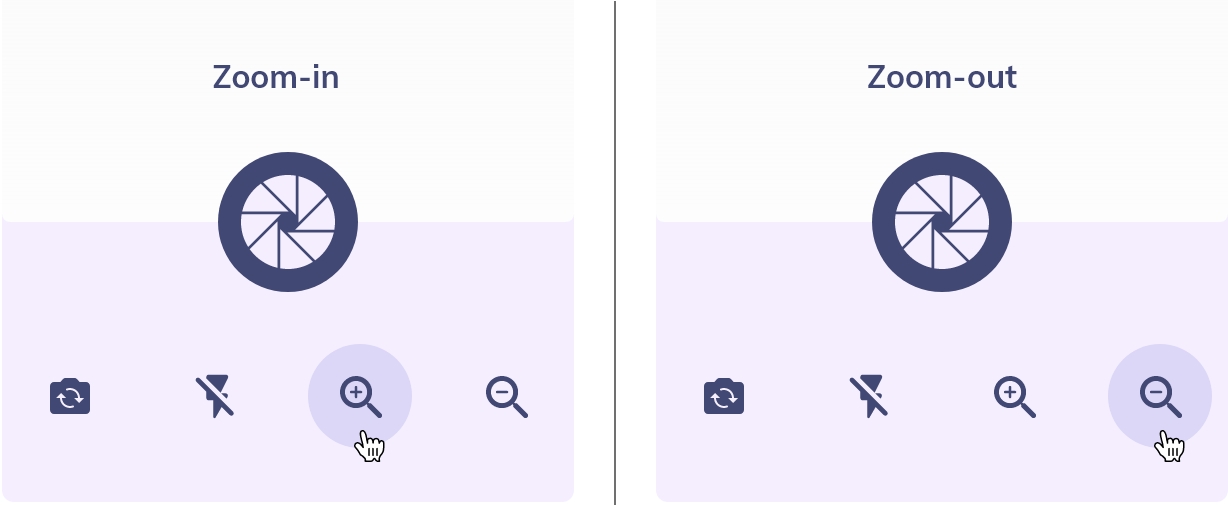
Click on the icon to Zoom in on an image.
Click on the icon to Zoom out on an image.
Click on the icon to Zoom out on an image.
4.
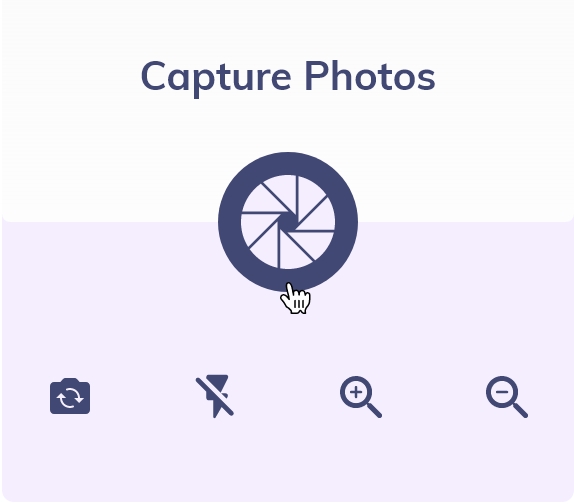
Click on the icon to Capture Photos.
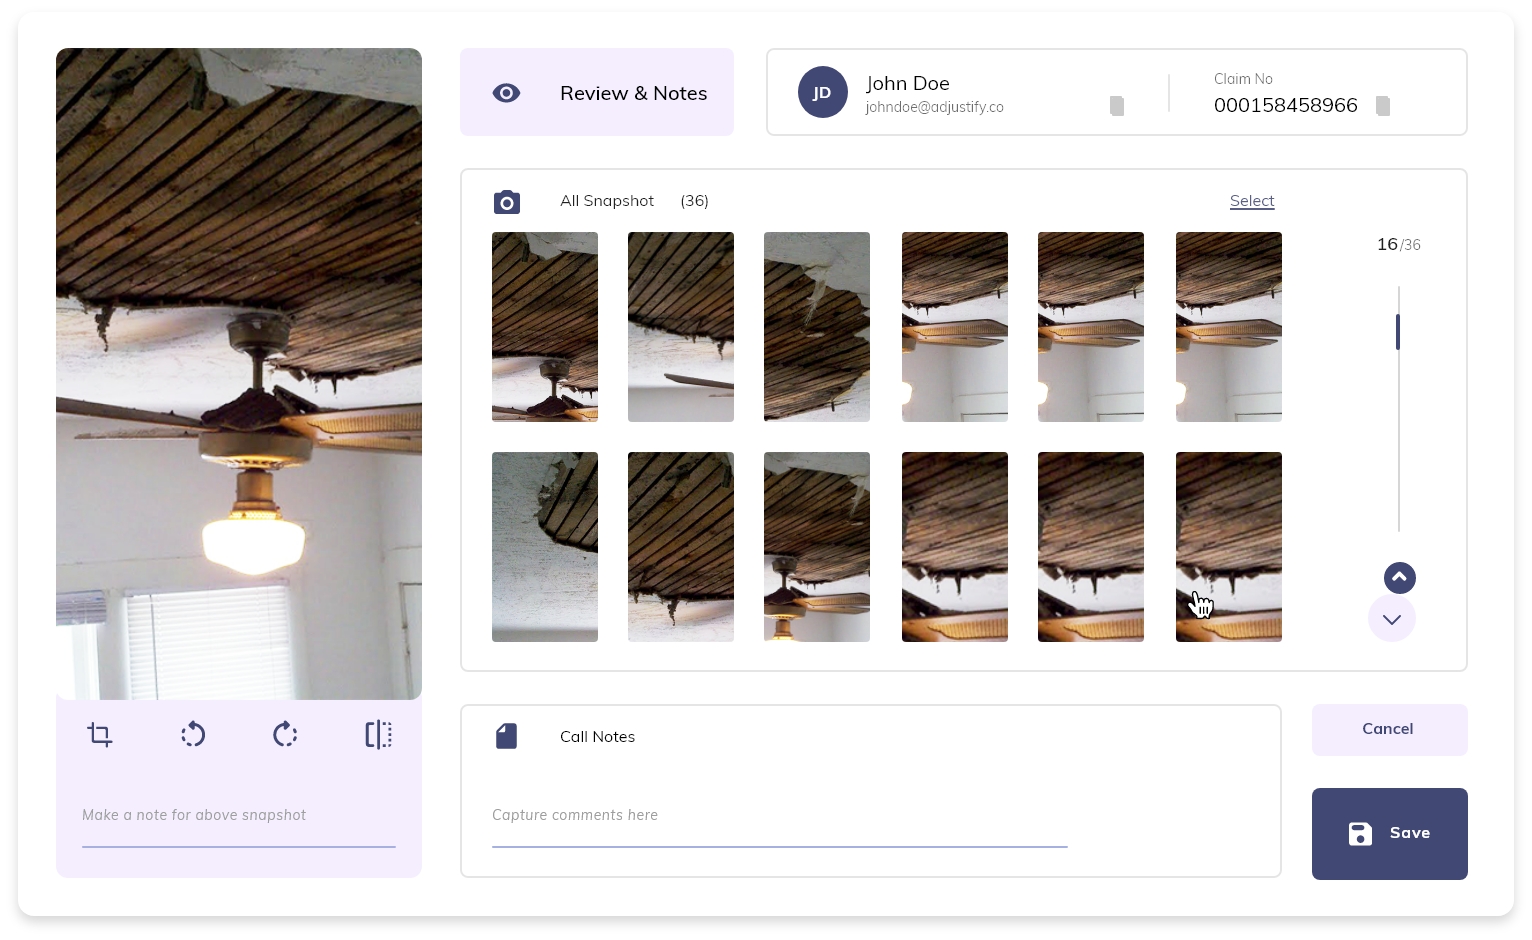
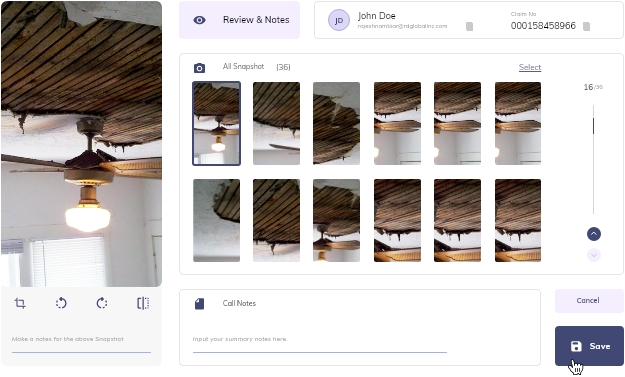
How to Add Notes
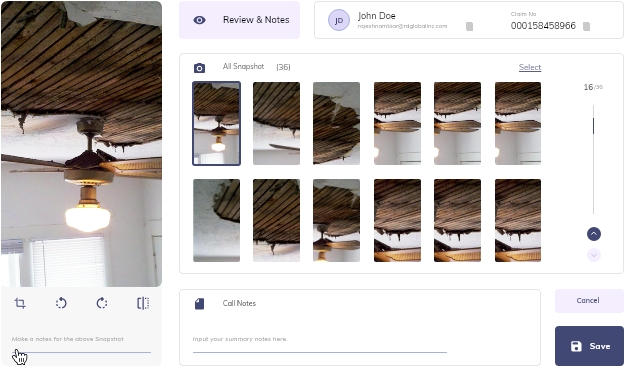
After the call users can add notes specific to each image and add a summary in Call Notes.
1.
Use your curser to select an image.

2.
A text box will appear beneath the image.
Add notes & click on Enter.
Add notes & click on Enter.
3.
To add notes to summarize the call.
Click inside the Summary Notes Page at the bottom, Add notes and Save.
Click inside the Summary Notes Page at the bottom, Add notes and Save.
How to Call the Customer Back
After the first call has been completed, users can easily call back a customer for more information by following these steps.
1.
In the left navigation bar, select Call History.

2.
Locate the customer name and select the green call button to schedule another call.

3.
This will take you to the call screen where another call can be initiated by clicking the phone icon.

How to add Team Members
Follow these steps to create new user accounts for team members in your Adjustify account.
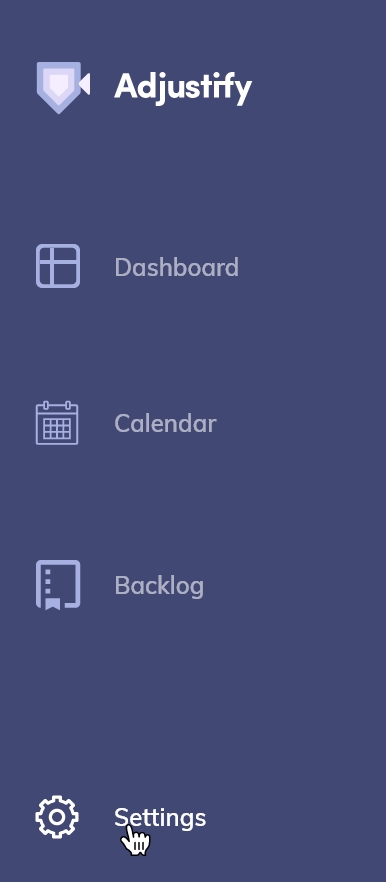
1.
Go to the left navigation and click on the Settings icon at the bottom.
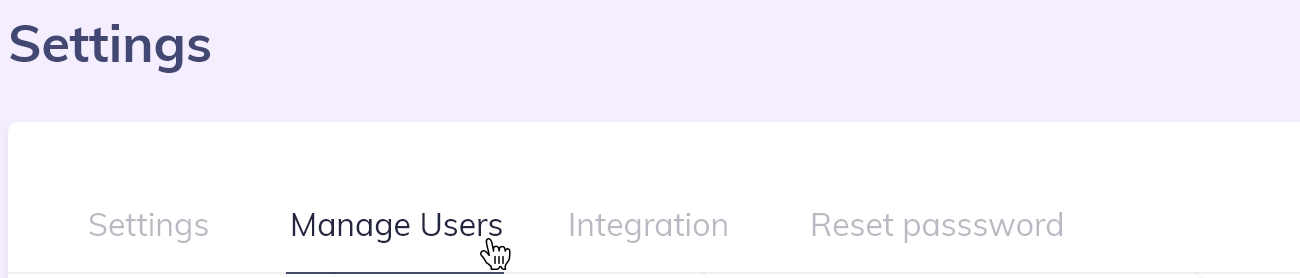
2.
Click on Manage Users.
3.
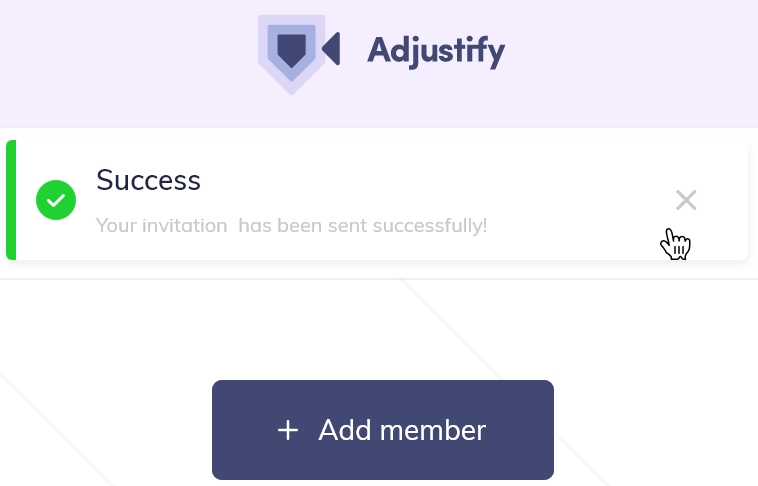
Click +Add member.
4.
Enter members email address.

5.
Select Invite.

6.
A Success Message will appear that Your team member will receive an email to activate their account with Adjustify.
How to Reset your Password
To change your password, follow these steps.
1.
In the left navigation, click on Settings.

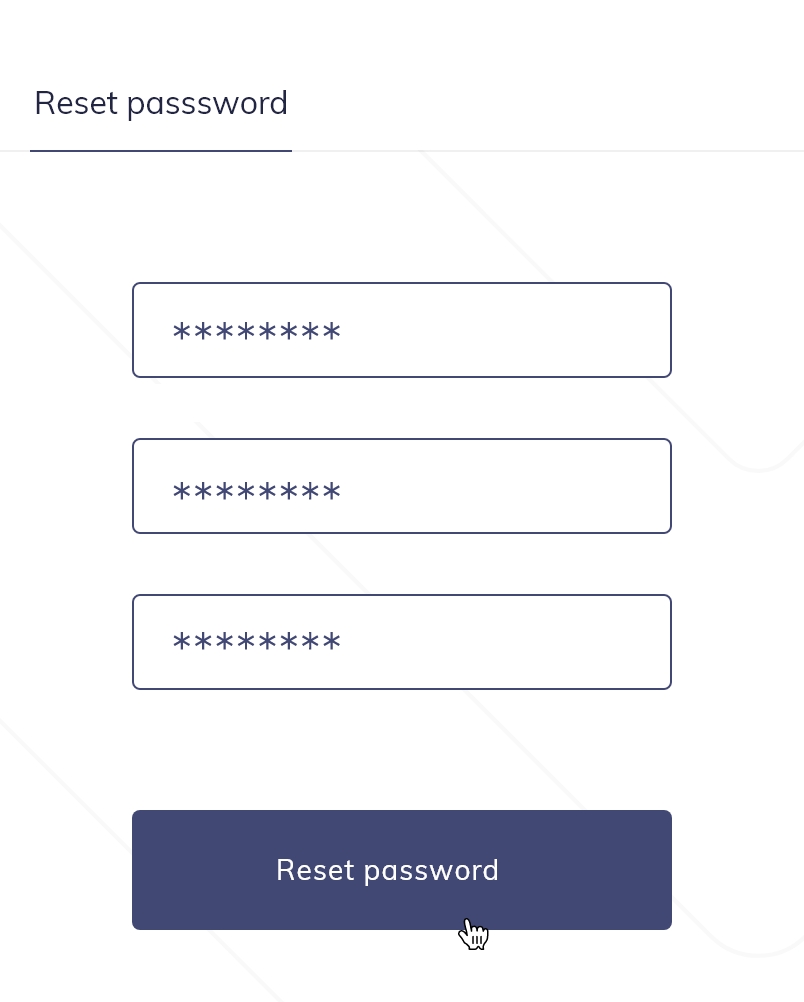
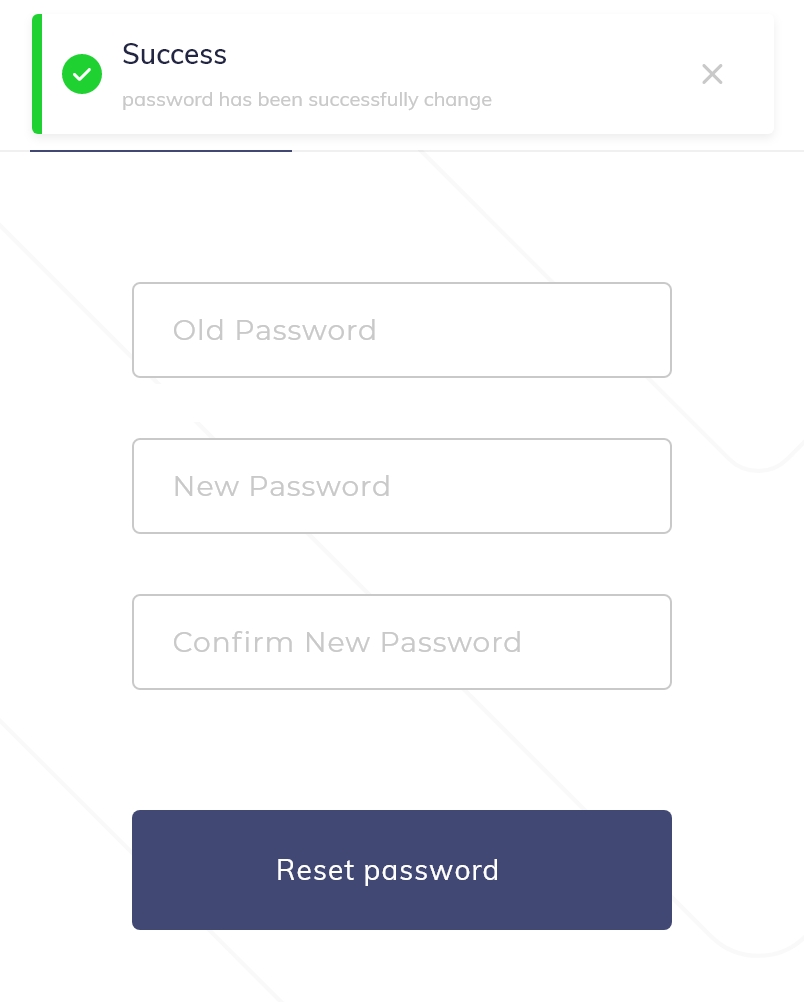
2.
Select Reset Password, Enter your Old Password, enter your New Password then re-enter to Confirm New Password.
3.
A pop-up will appear that your password has been successfully changed.
You will need to enter your new password upon login.
You will need to enter your new password upon login.
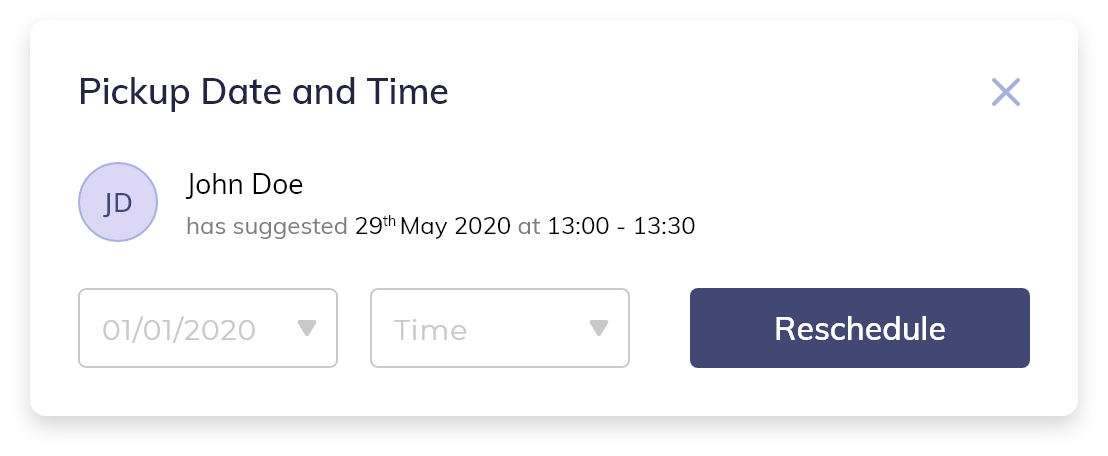
How to Reschedule a Call
Users and their customers have the option to reschedule a call.
1.
After users schedule a call, their customers will receive an email with instructions to download the app and enter a secure code. After customers enter the code into their mobile app, they will be prompted to accept the call invitation or suggest another time.
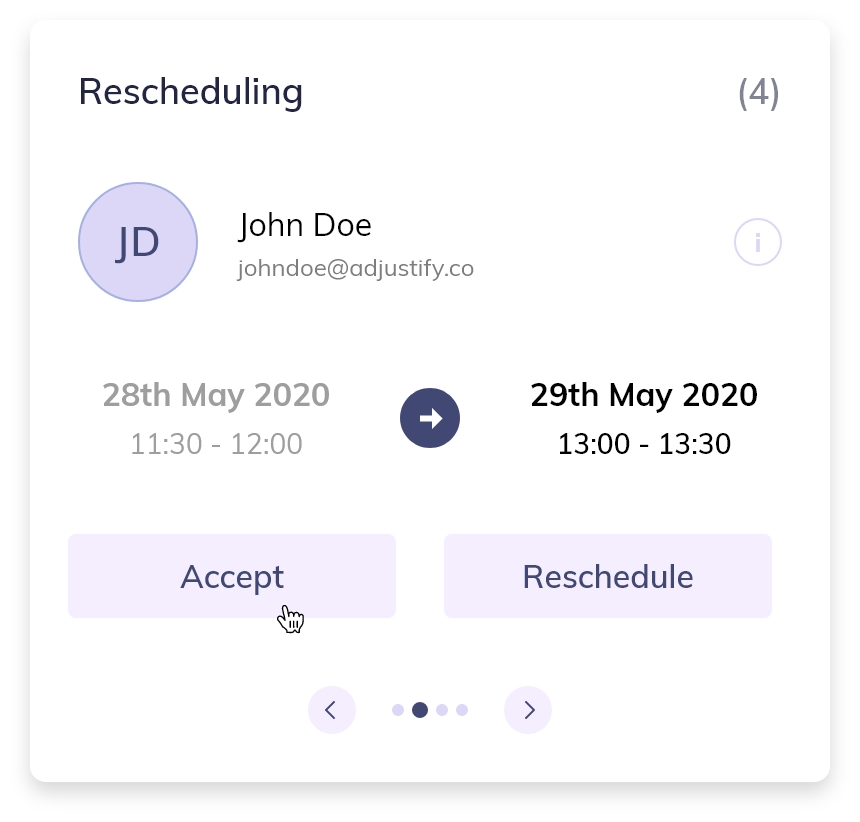
2.
When customers suggest another time, users can accept the invitation or propose another time for the video call from the online dashboard.
How to set up Dropbox Integration
All data captured during your call, such as video, photographs etc. are stored in the cloud. You can decide to keep all this data in your own cloud storage system, such as Dropbox. Adjustify provides integrations to major cloud providers allowing you to keep the sensitive customer data in your own account.
How to store your Adjustify data such as call recordings, notes, and screenshots to the third-party cloud storage app, Dropbox.
1.
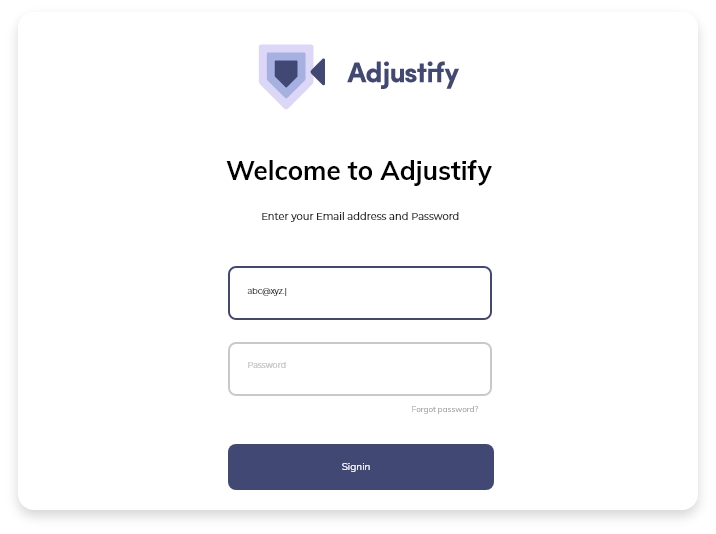
Log in to Adjustify.
2.
Navigate to the Settings Page.

3.
From the Settings Page, Click on the Integration Tab.

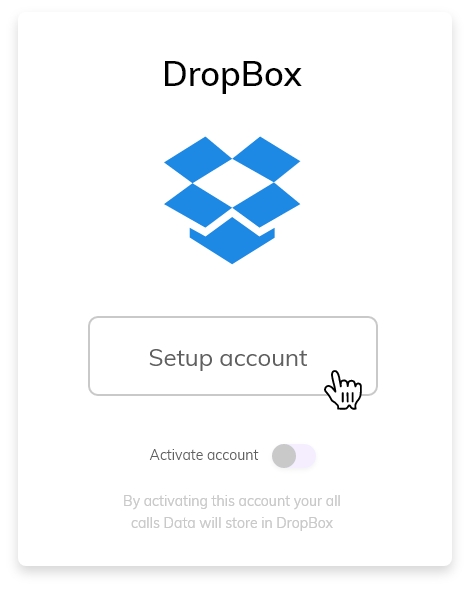
4.
Within the Integration Tab, go to the DropBox option and click "Setup account".
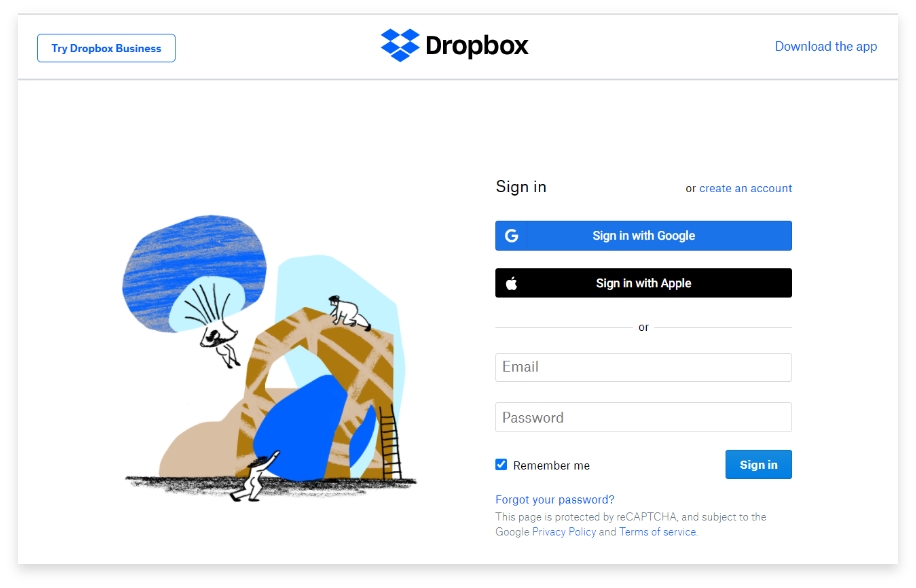
5.
If you have an existing Dropbox account that you'd like to integrate with Adjustify, please log in with your existing credentials or sign up for a new Dropbox account.
6.
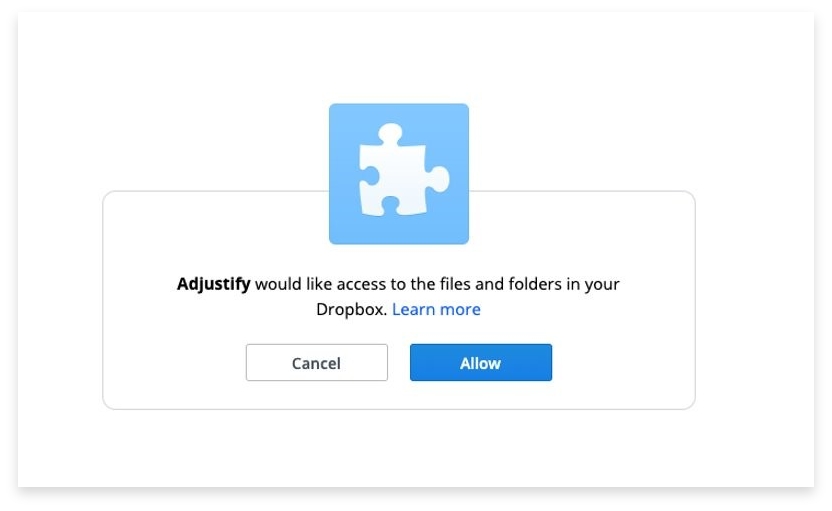
Once you are logged in to Dropbox, you will receive a screen prompt asking for authorization. Click, "continue" to connect the Dropbox app to Adjustify.

7.
You will be prompted to allow Adjustify access to the files and folders in your DropBox.
8.
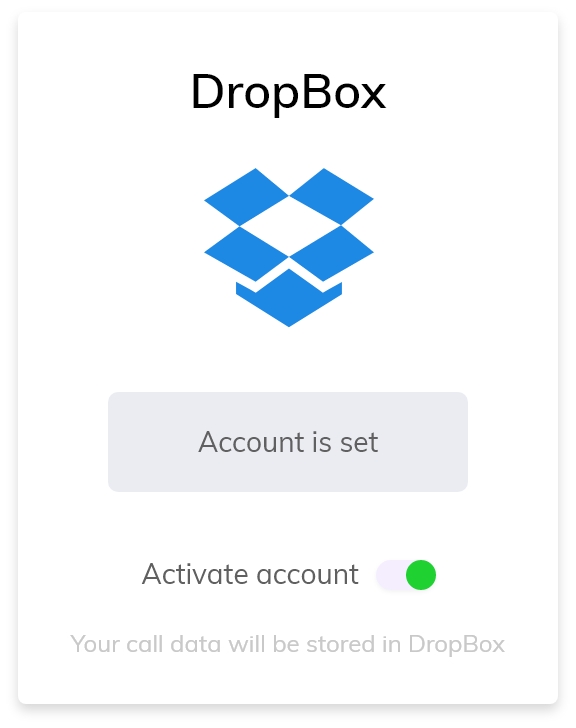
Once you have allowed Adjustify access to your Dropbox files, you will automatically be rerouted to the Adjustify settings screen, on the Integration tab.
The text box will now display the message, "Account is set" and the "Activate account" toggle button is now on.
The text box will now display the message, "Account is set" and the "Activate account" toggle button is now on.
How to Sync Adjustify with your Calendar
To schedule a new call, you must first enter the client information.
1.
Sign into Adjustify and navigate to your Dashboard.
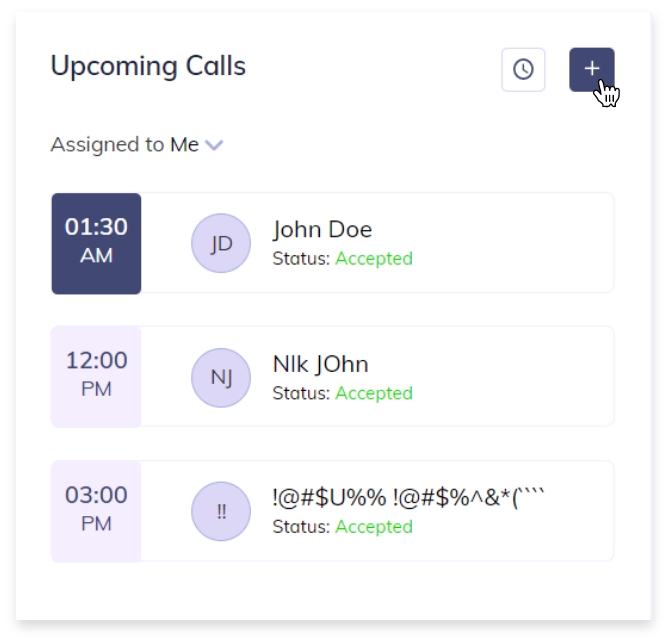
2.
From the Dashboard, click on the "+" button under the "Upcoming Calls" section.
3.
You'll be taken to the "Add New Claim" form where you will enter your client's claim details.
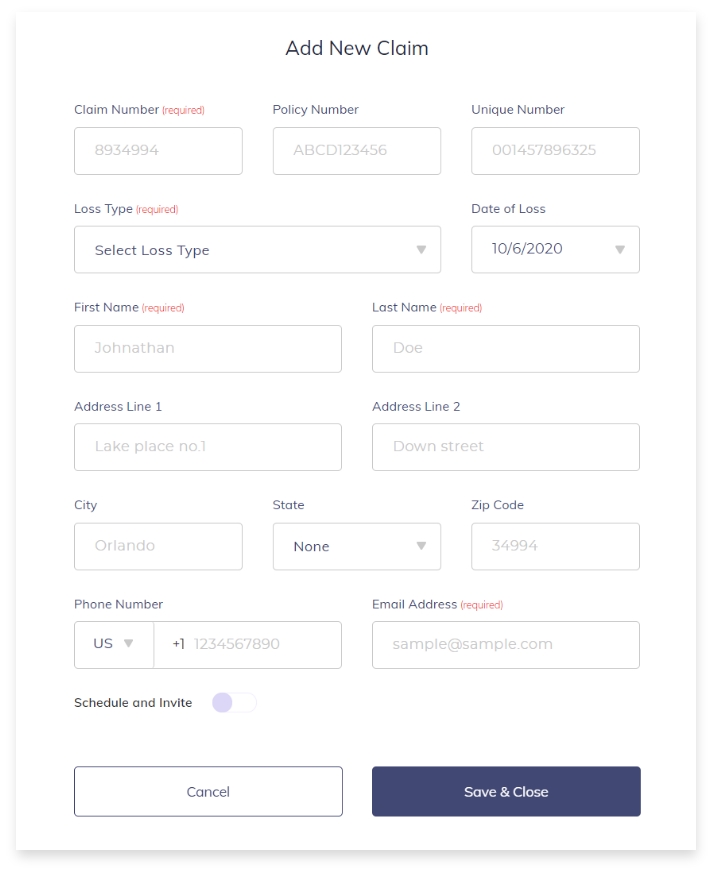
4.
Once you've entered the required information, click the "Schedule and Invite" button to schedule the appointment.
5.
Select the date and the time.

6.
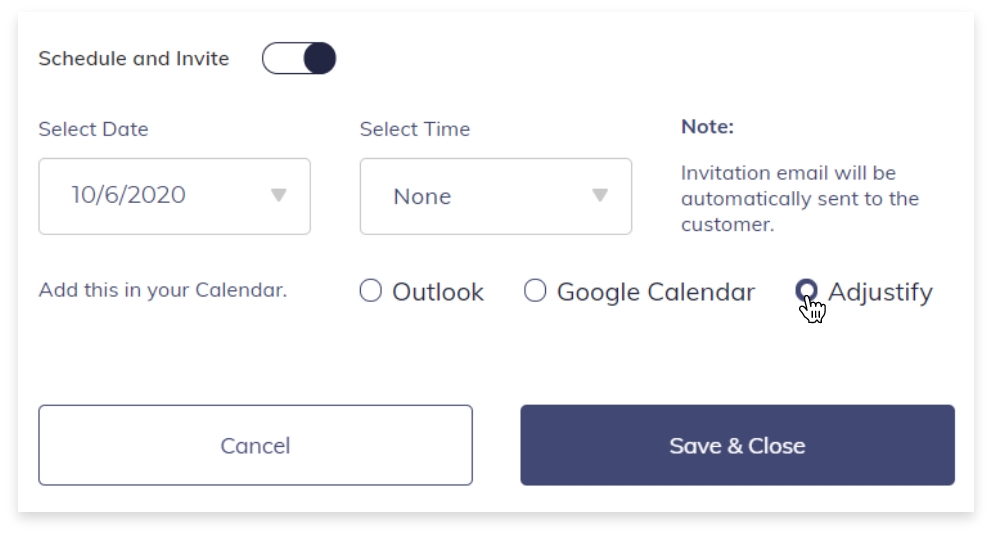
To add the meeting invite to your Outlook or Google Calendar, click on the radio button.
7.
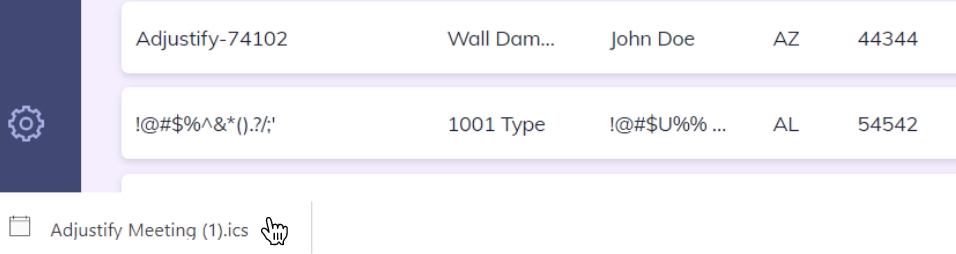
Click Save & Close. For Outlook, the file will download to your computer where you will need to open and save it.
8.
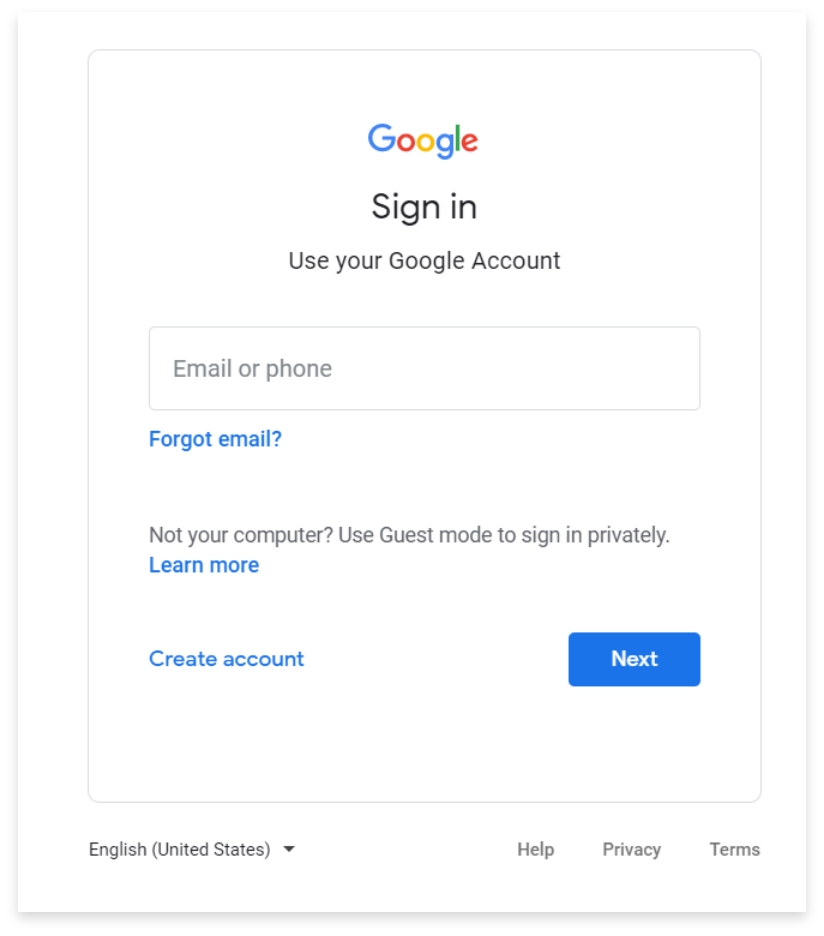
For Google, you will be taken to your Google calendar or be prompted to log into your Google account to confirm and save the meeting.
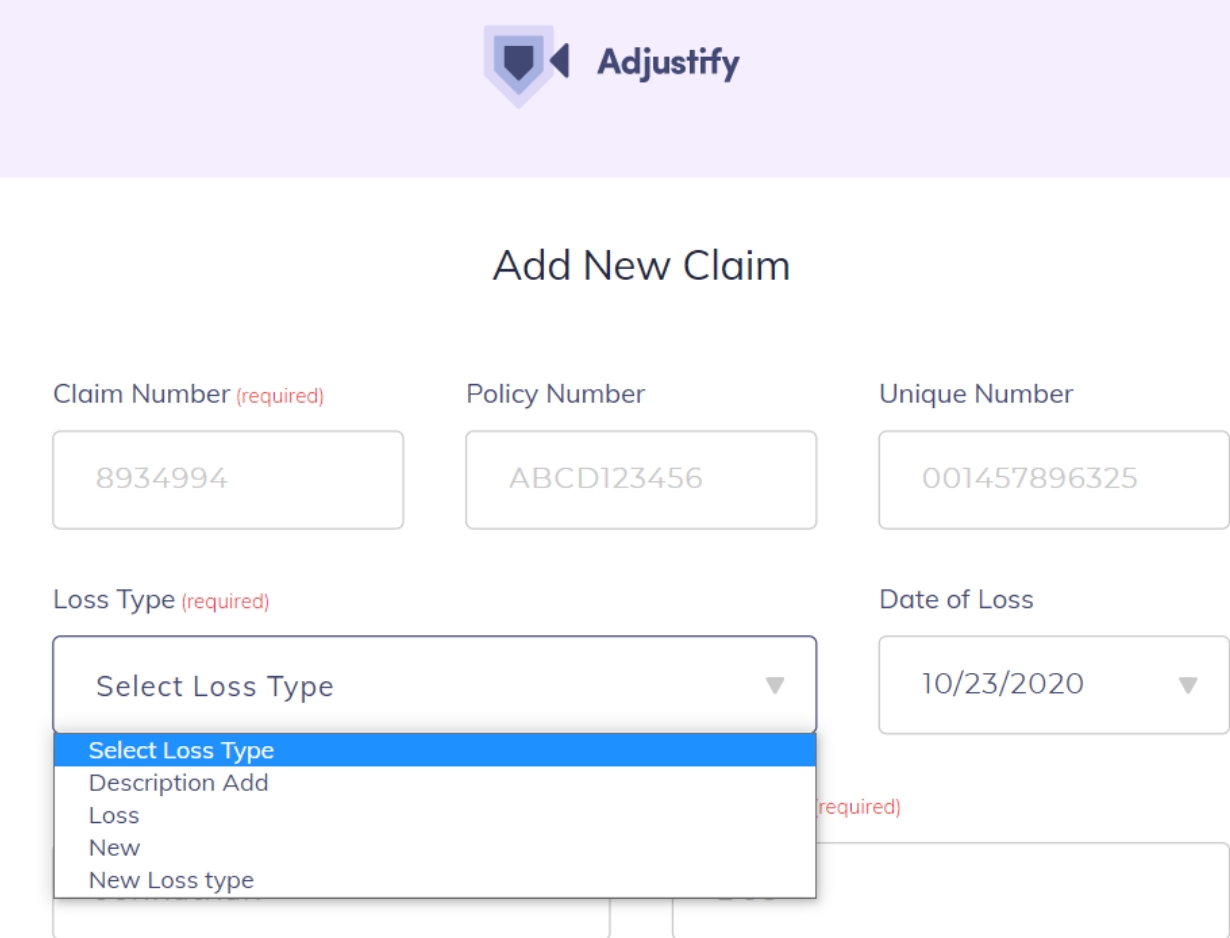
How to Customize Drop Down Menus
Before adding a new claim, users can customize the drop-down menu for loss type.
1.
In the side Navigation, go to Settings.
2.
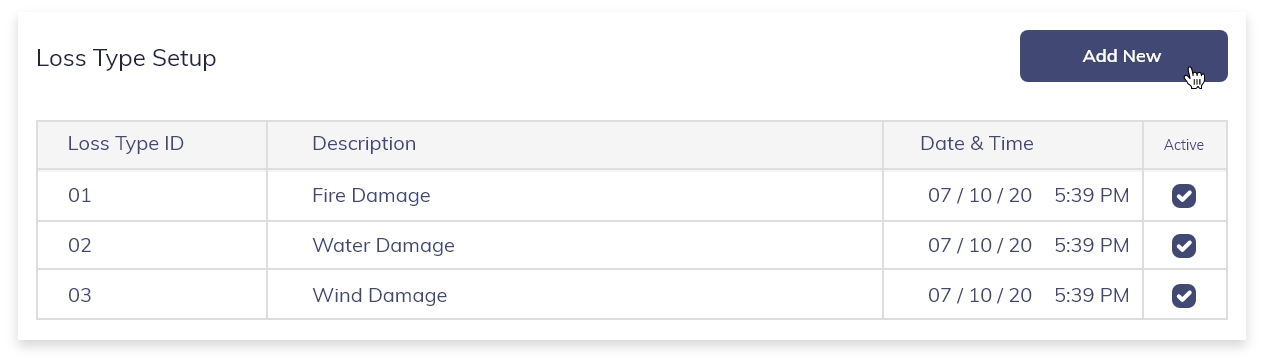
Click the "Configuration" tab.

3.
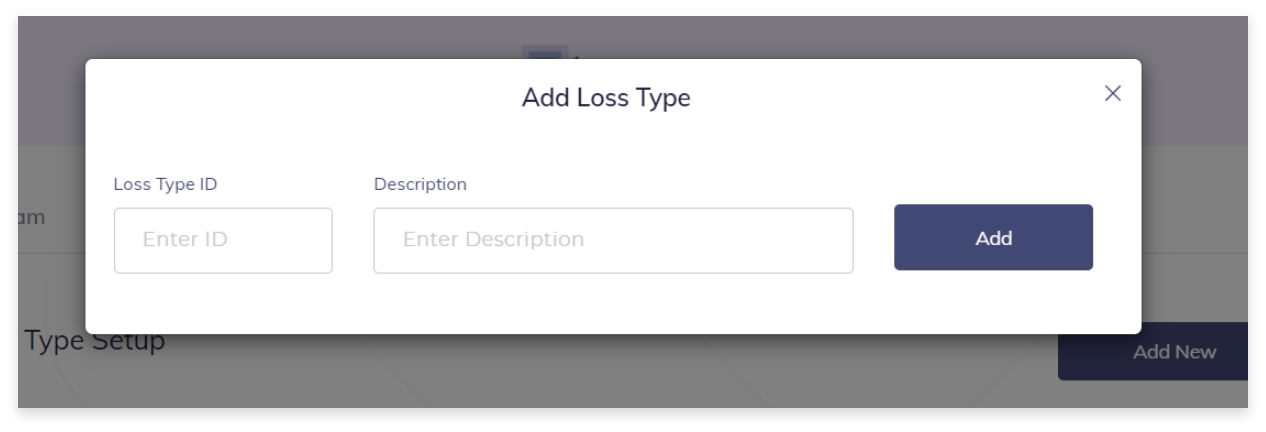
Click the "Add New" Button.
4.
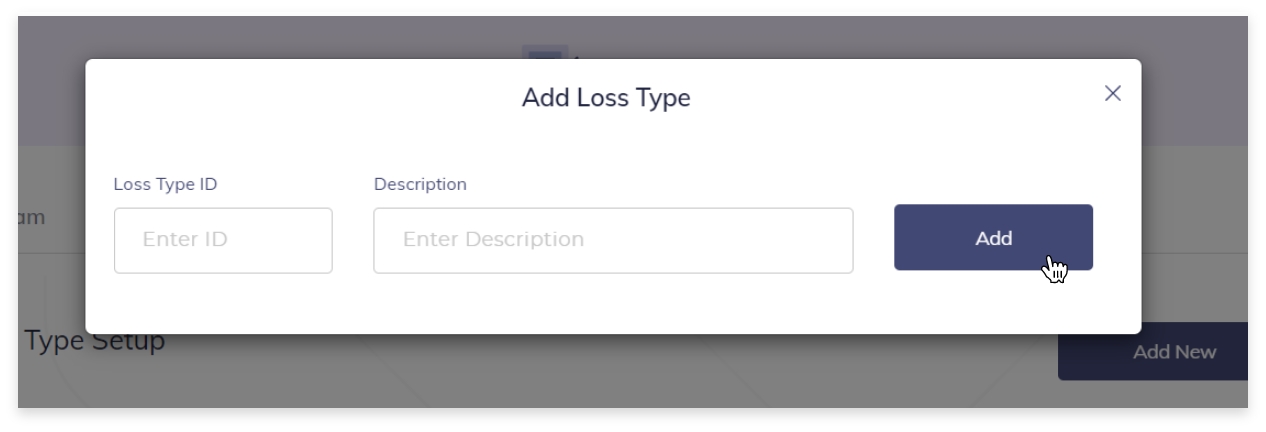
Enter the Loss Type ID and Description.
5.
Click the "Add" button to save this entry.
6.
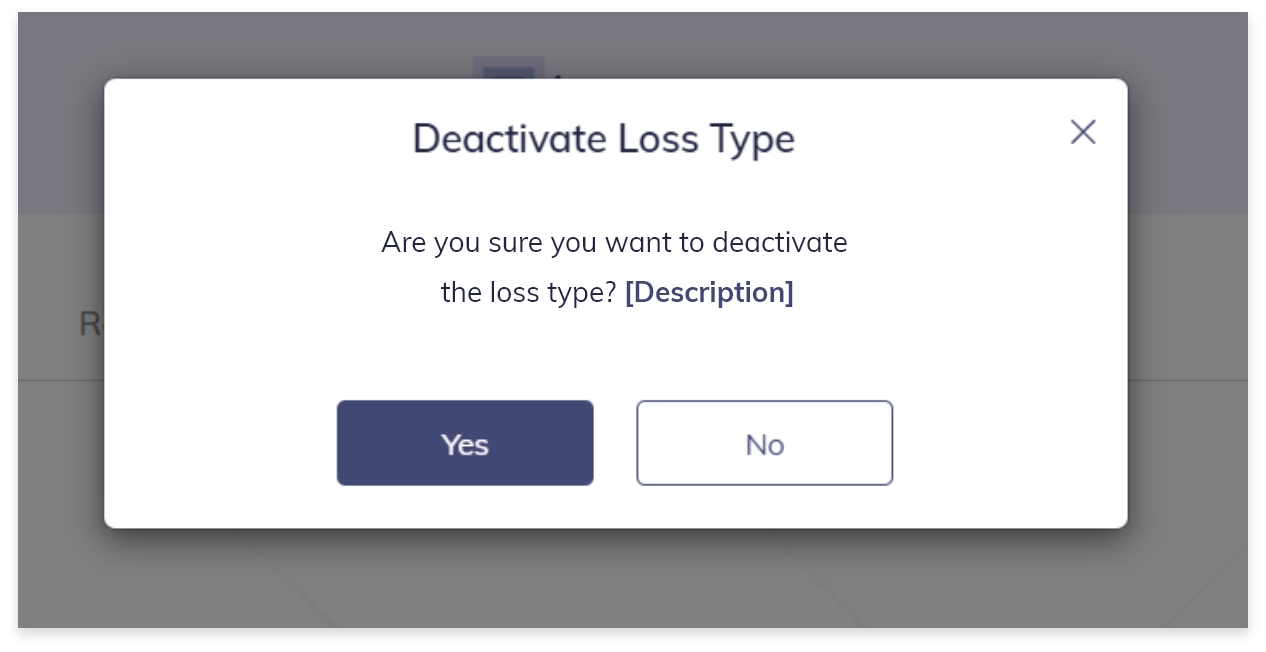
If you no longer wish to use the loss type, you can deselect the "active" checkbox for the loss type listing on the Configuration tab screen. It will not be deleted. Only deactivated.
How to Download Customer Records as a PDF
1.
From the left Navigation, go to Call History.
2.
Scroll to your desired call history log entry and click on the "eye" icon to "view records" or you can "download all records" without opening the record by clicking the download button.

3.
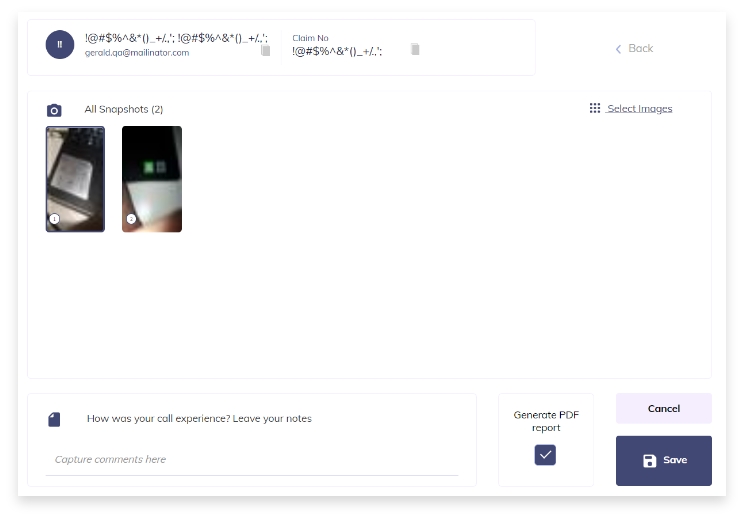
If you click on the "eye" icon to view records you will be taken to the call recording data screen where your video, screenshots, and notes are housed.
4.
Make sure the checkbox for "Generate PDF report" is selected.

5.
Click on the "Save" button to download the PDF report.

6.
A PDF will download automatically to your computer with the photos, notes and chat files associated with your customer and will be consolidated into a PDF report.